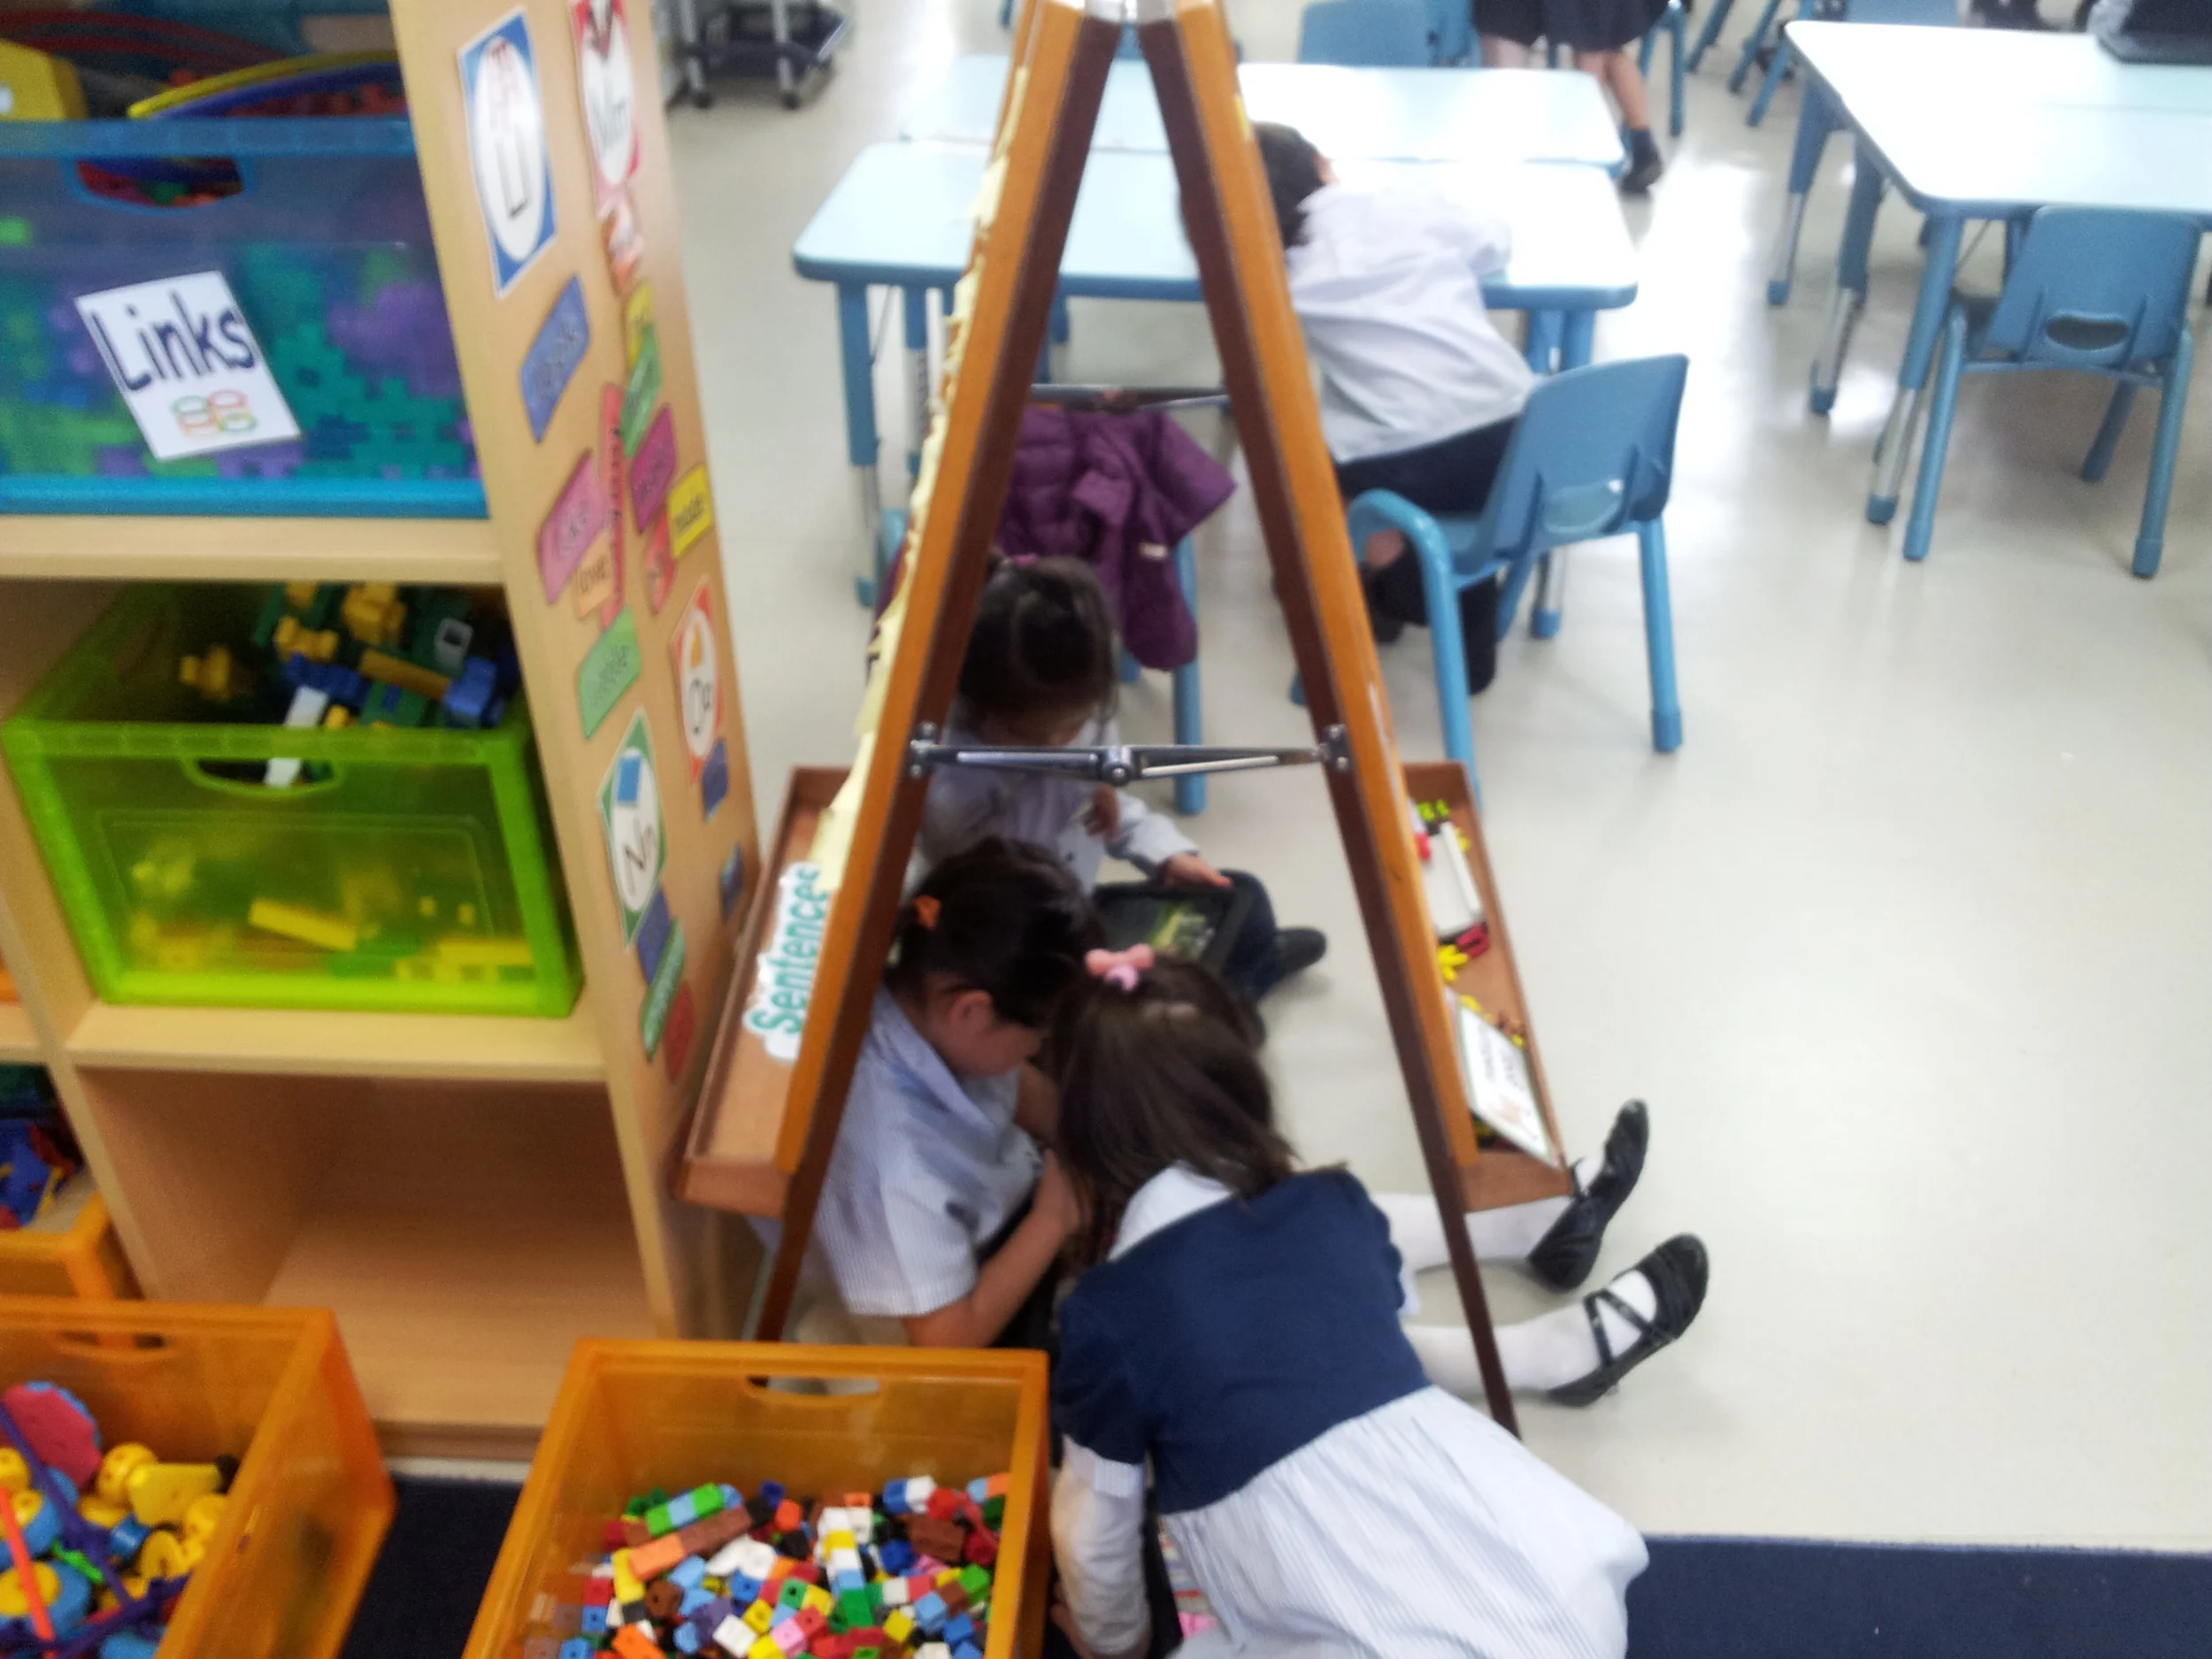
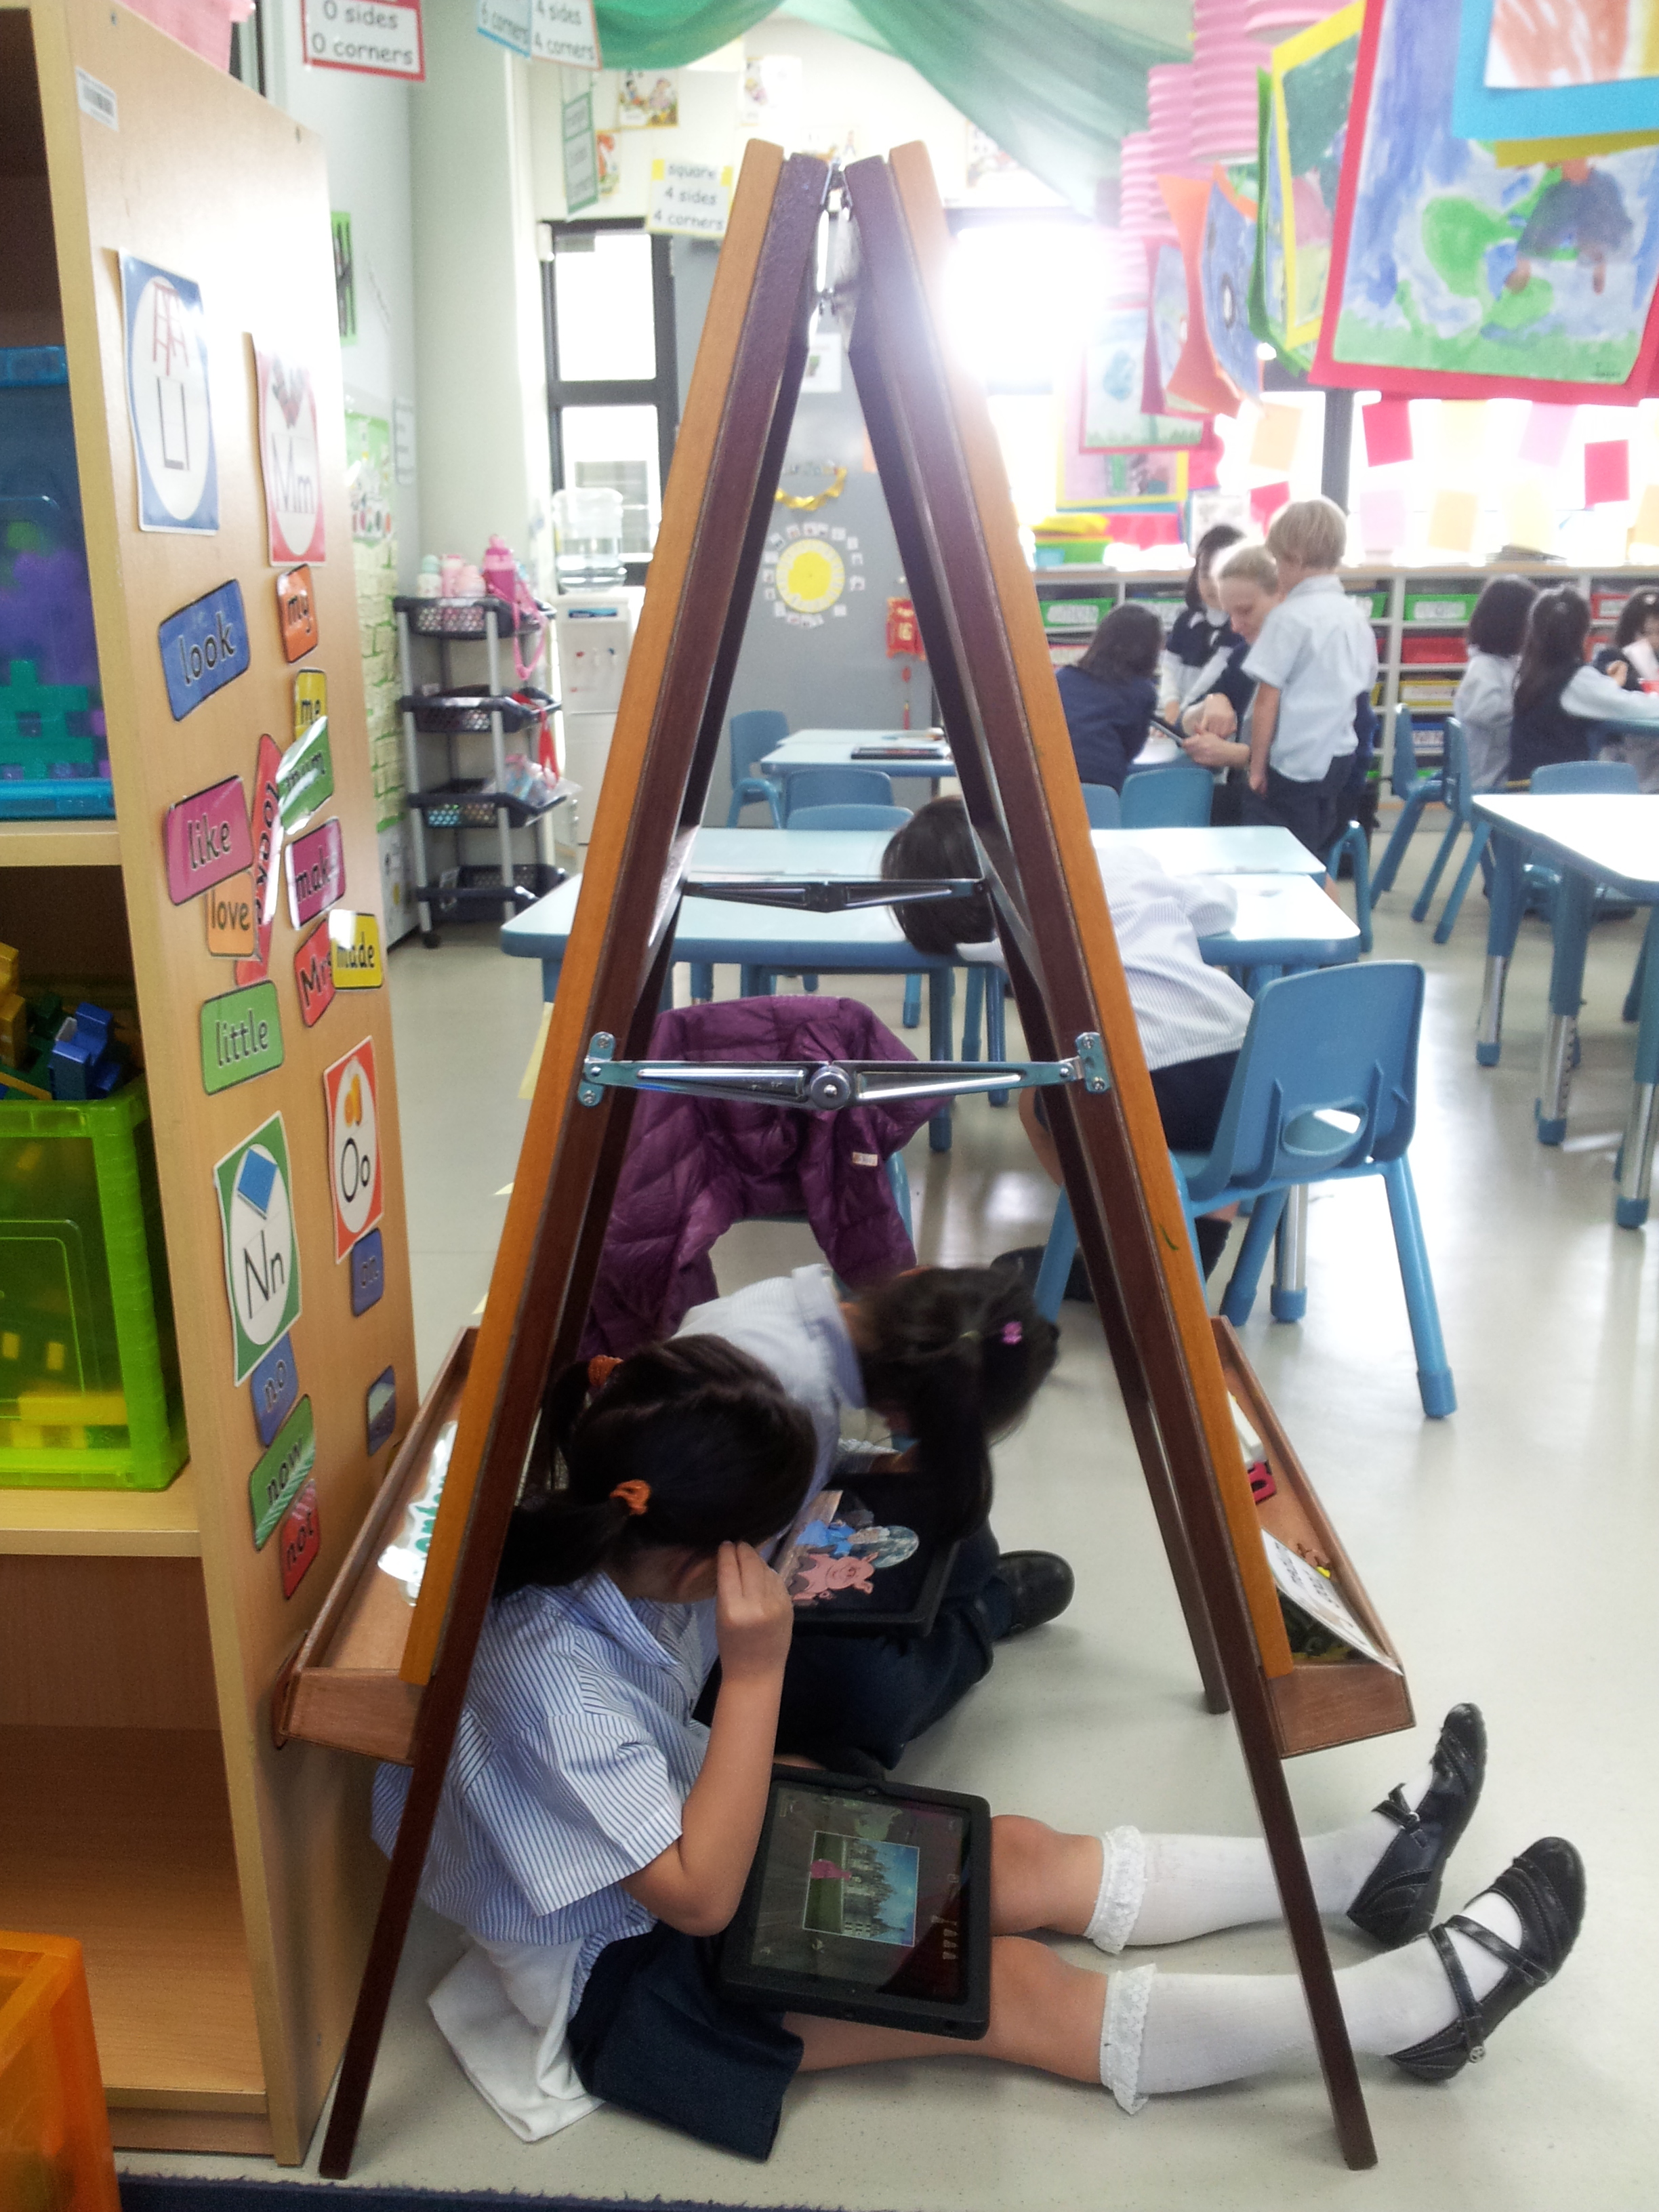
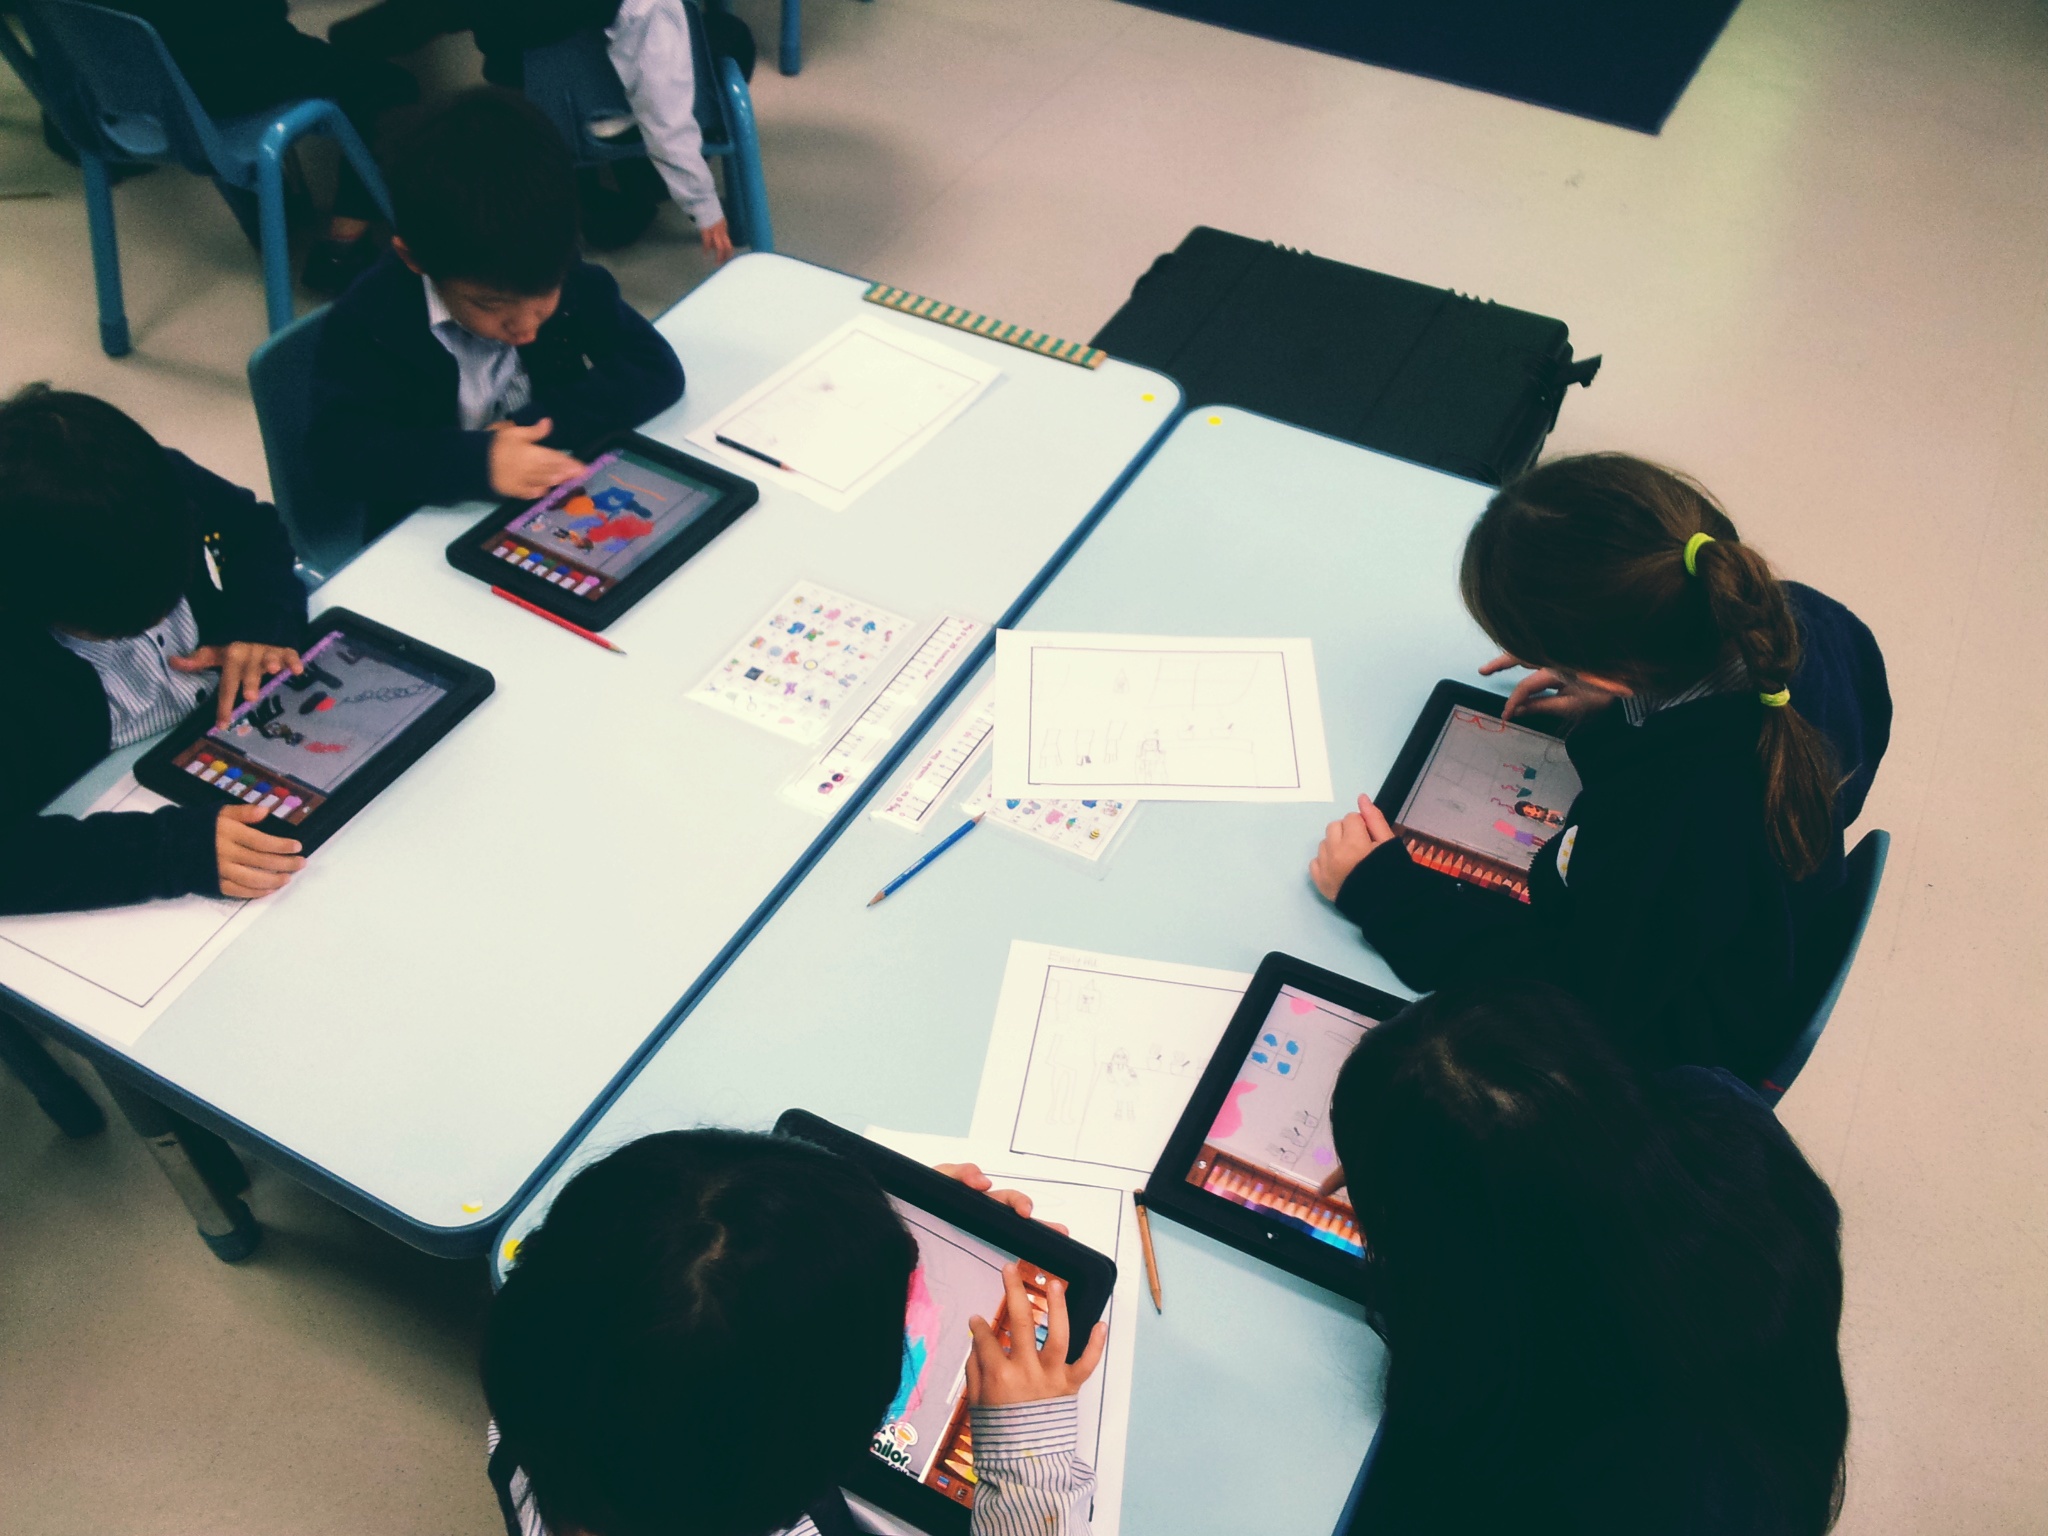
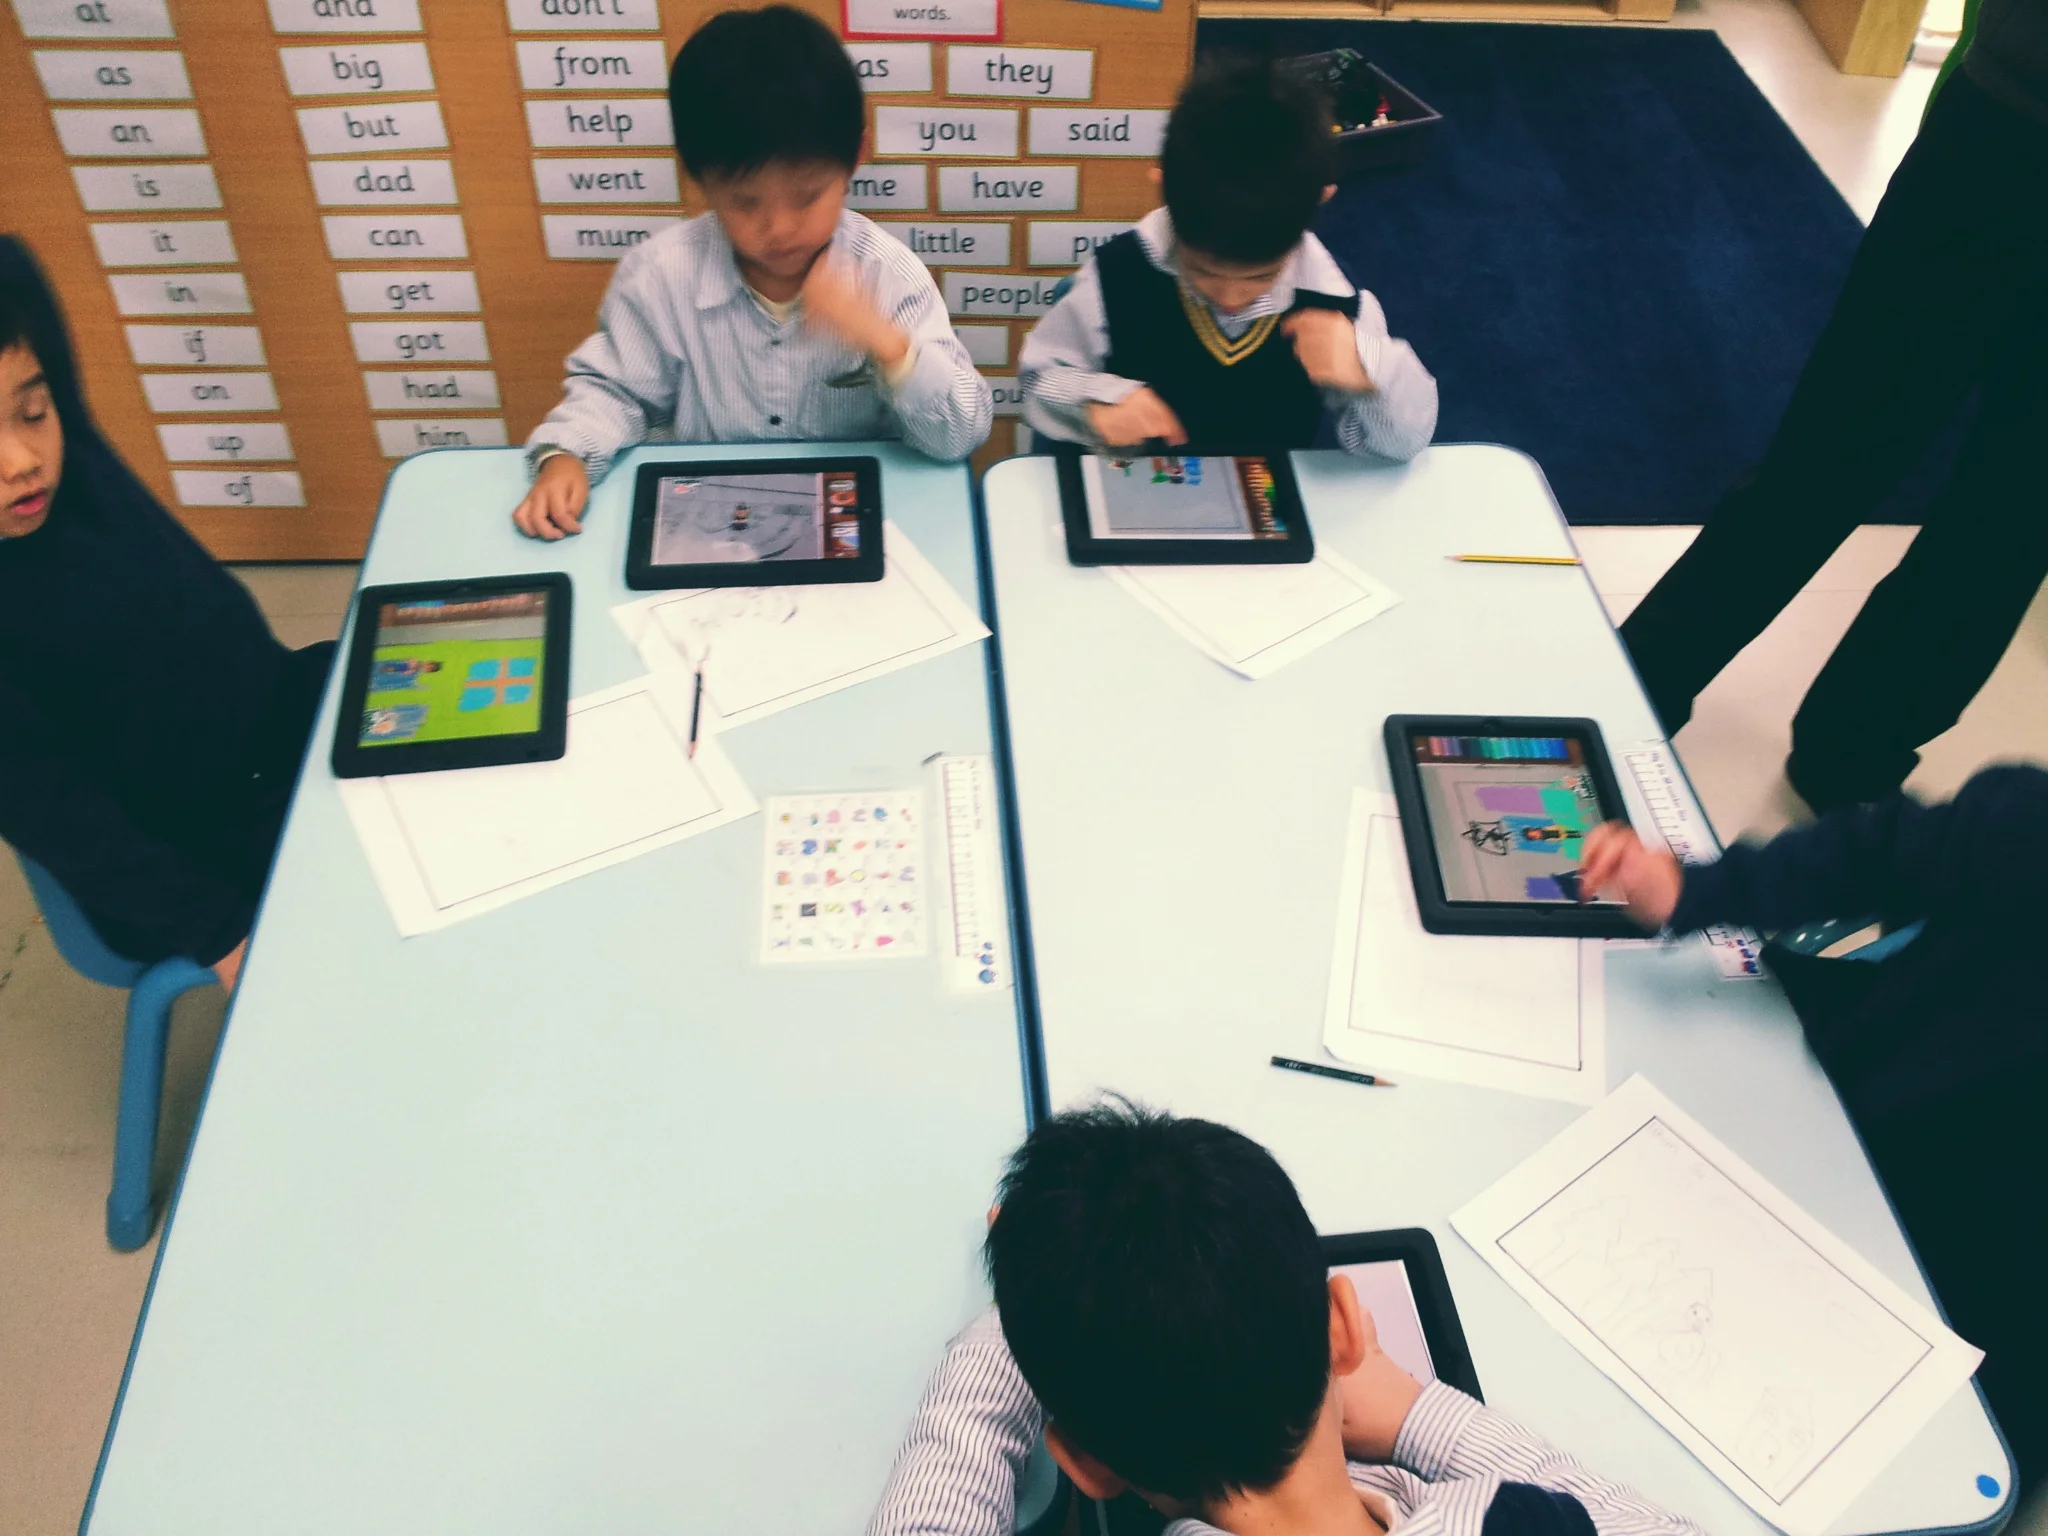
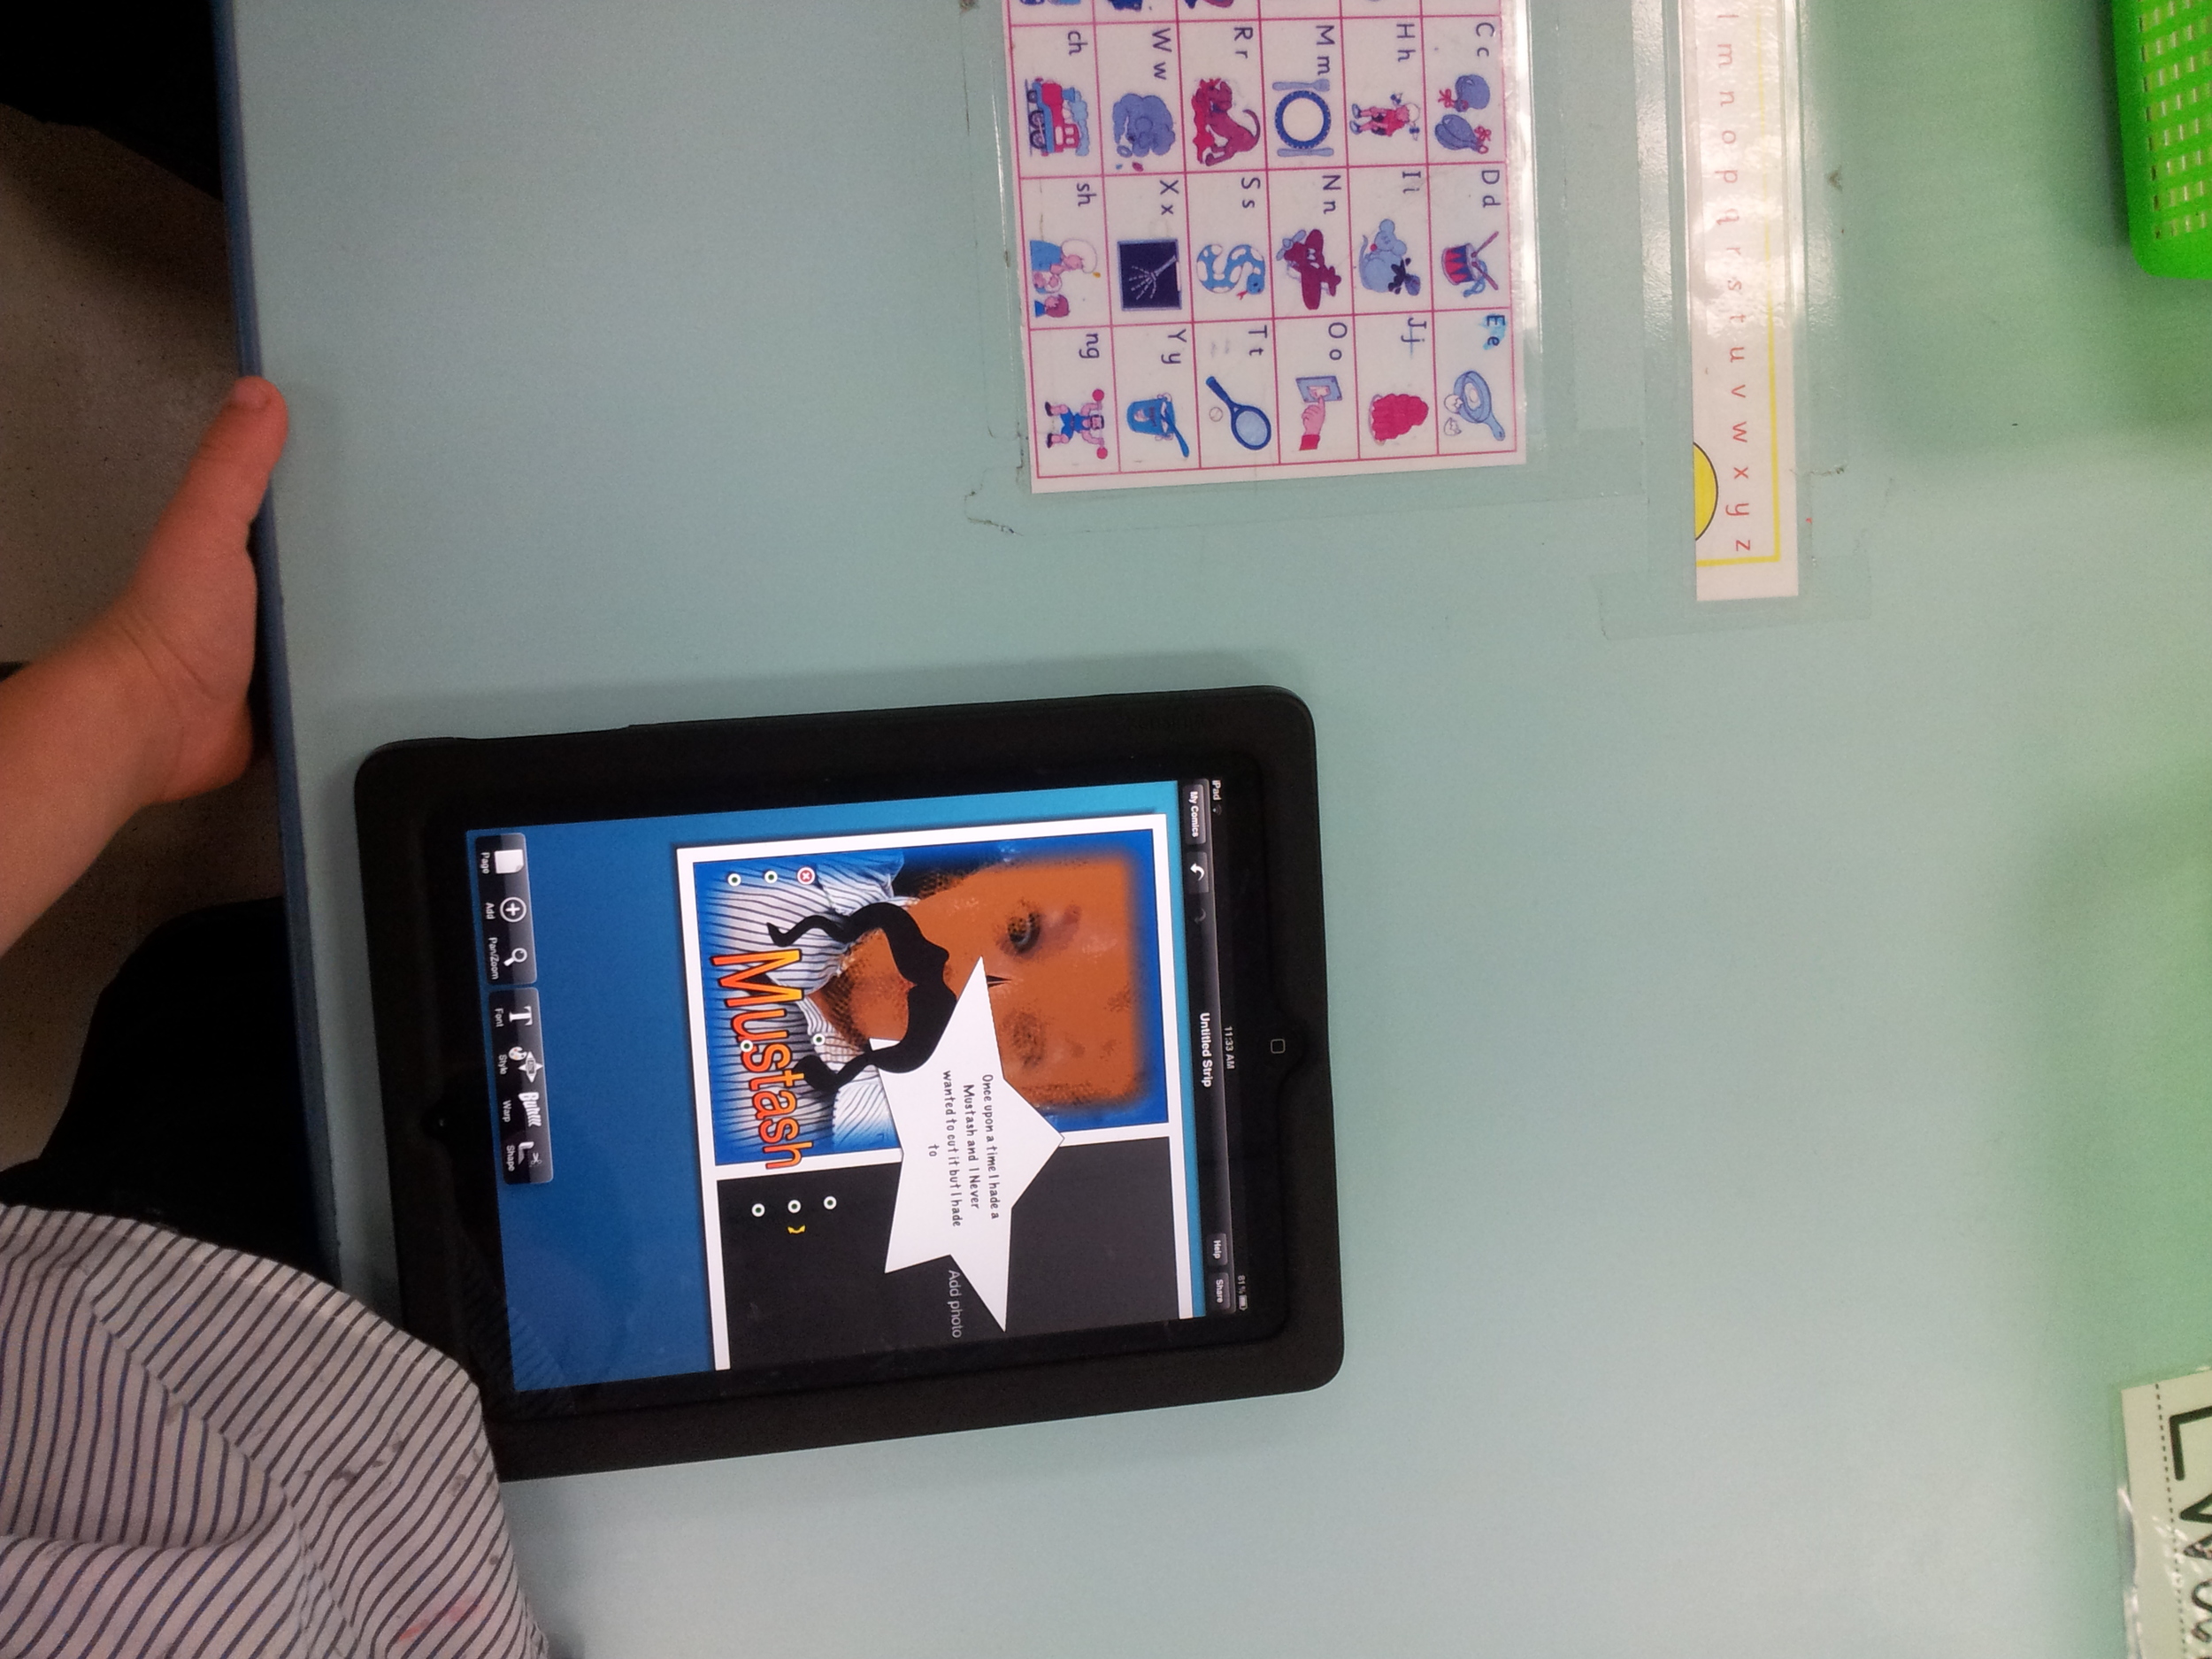
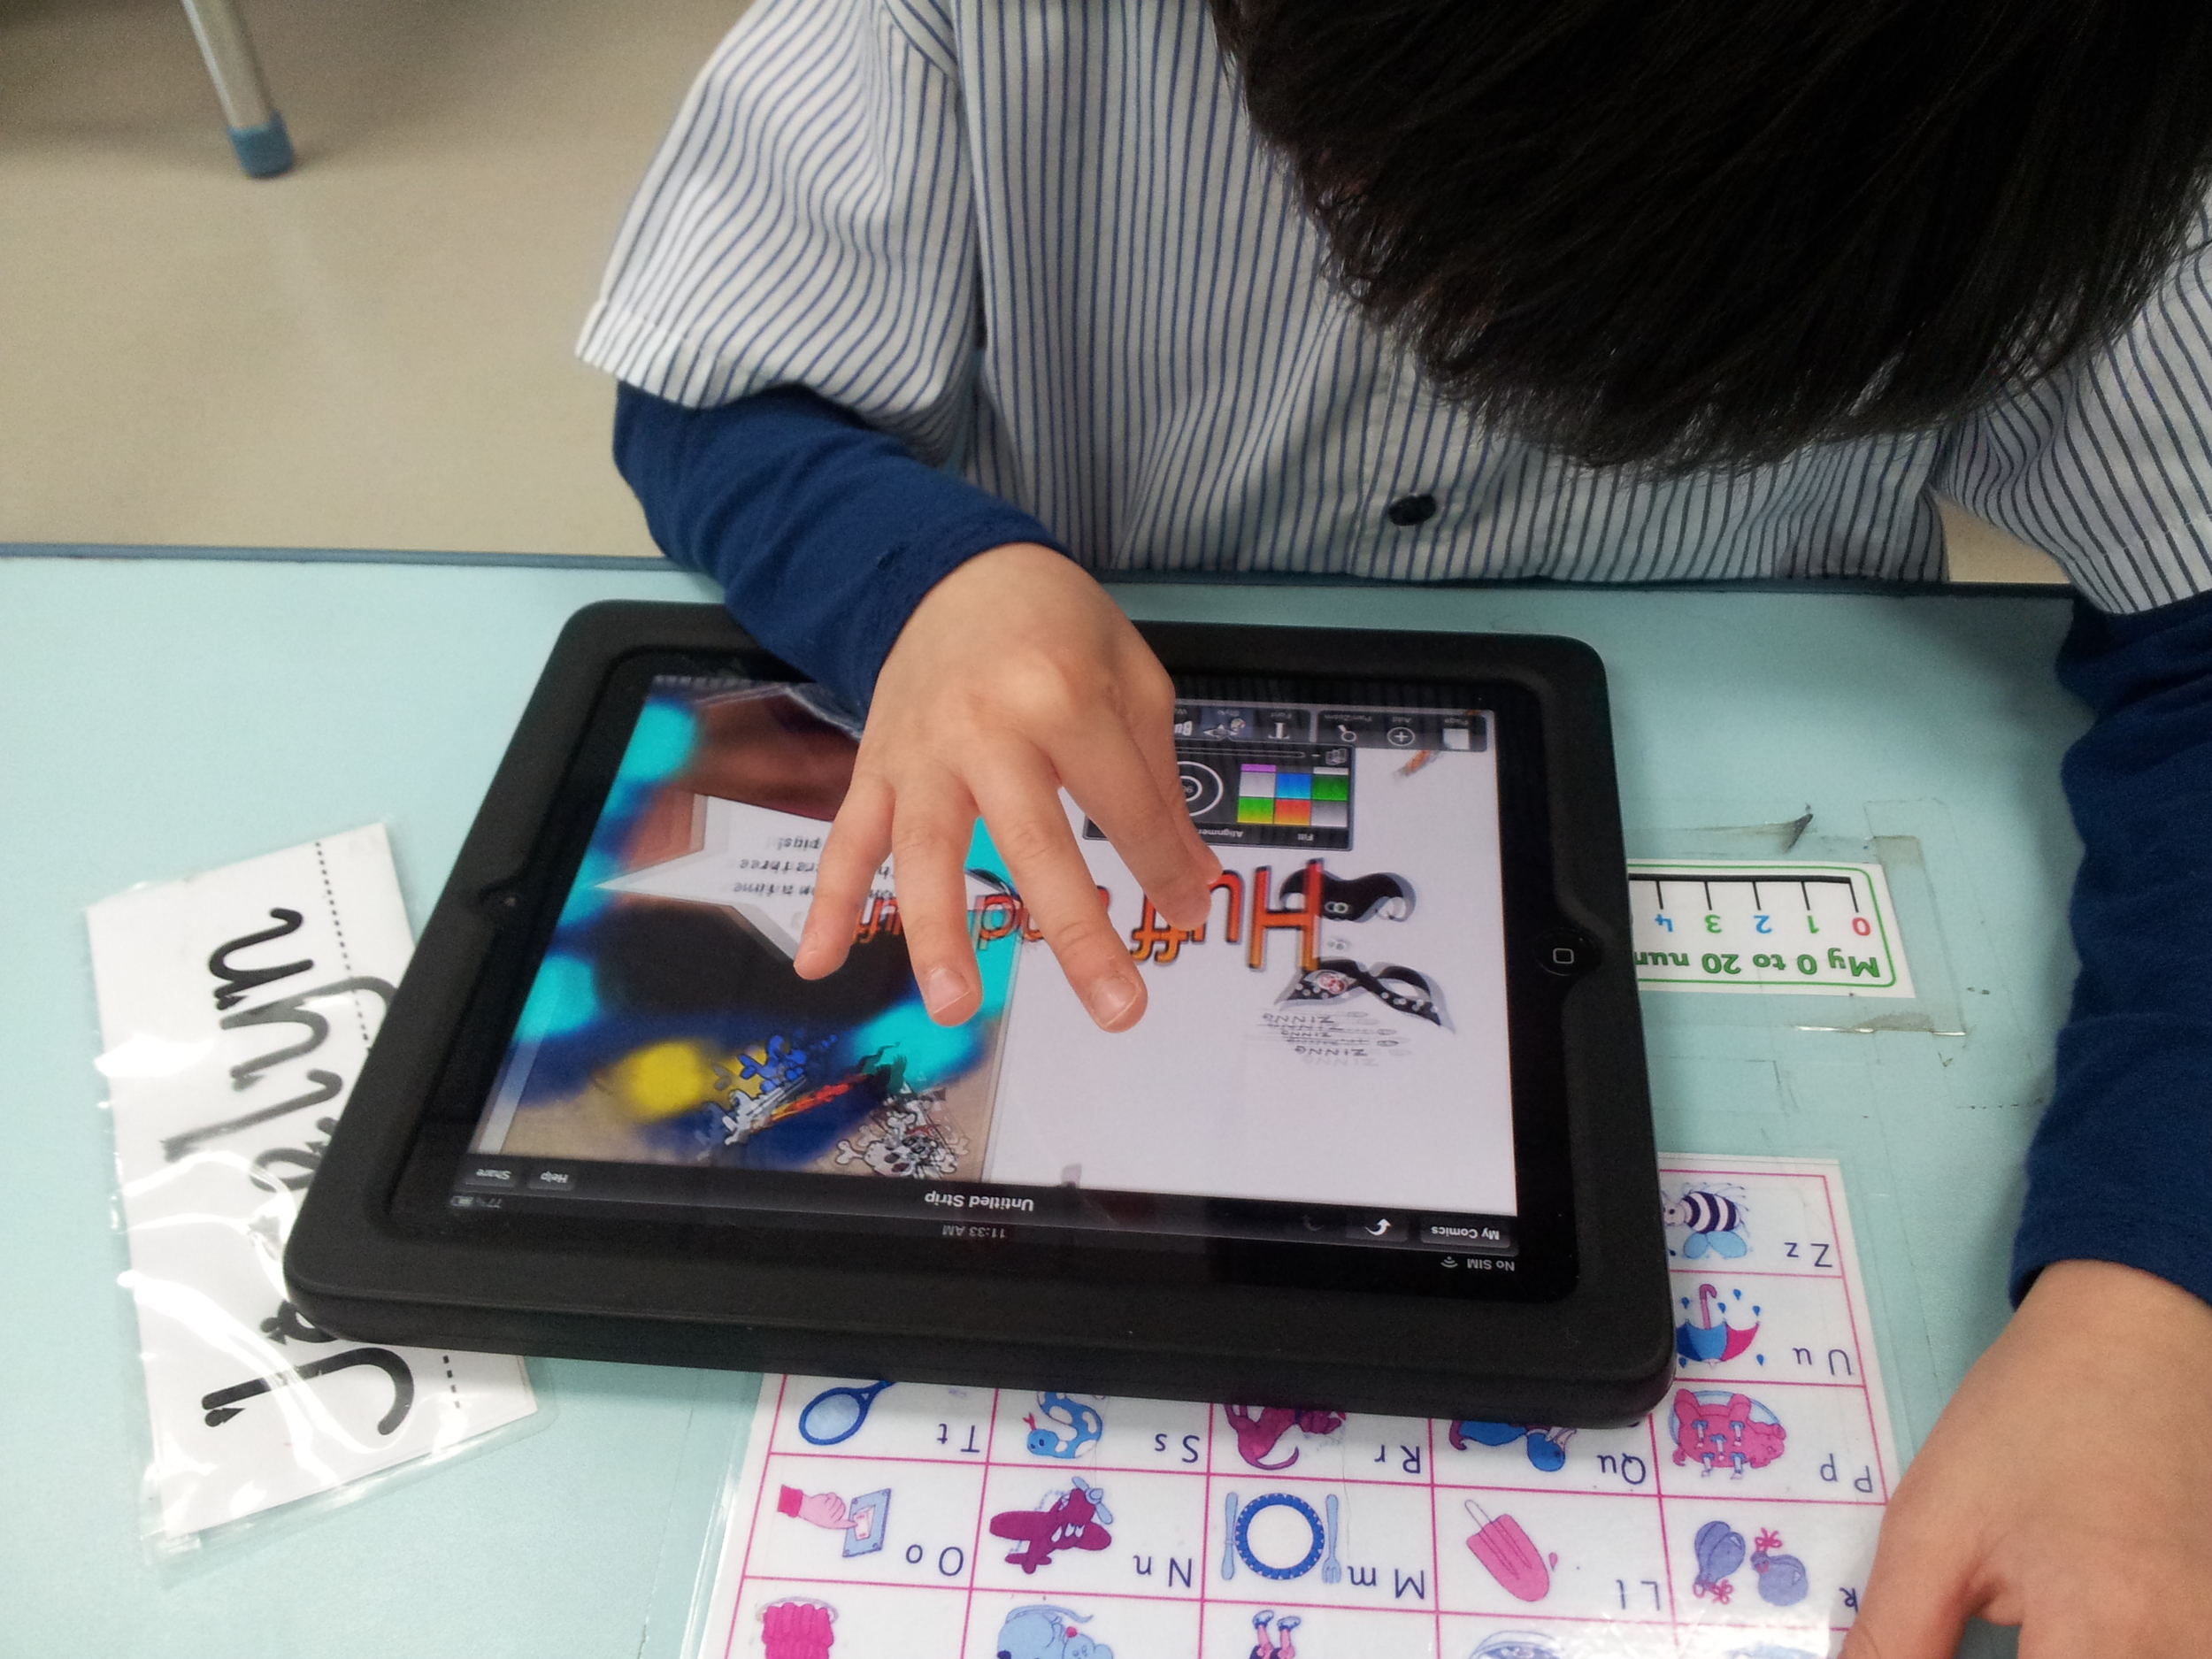
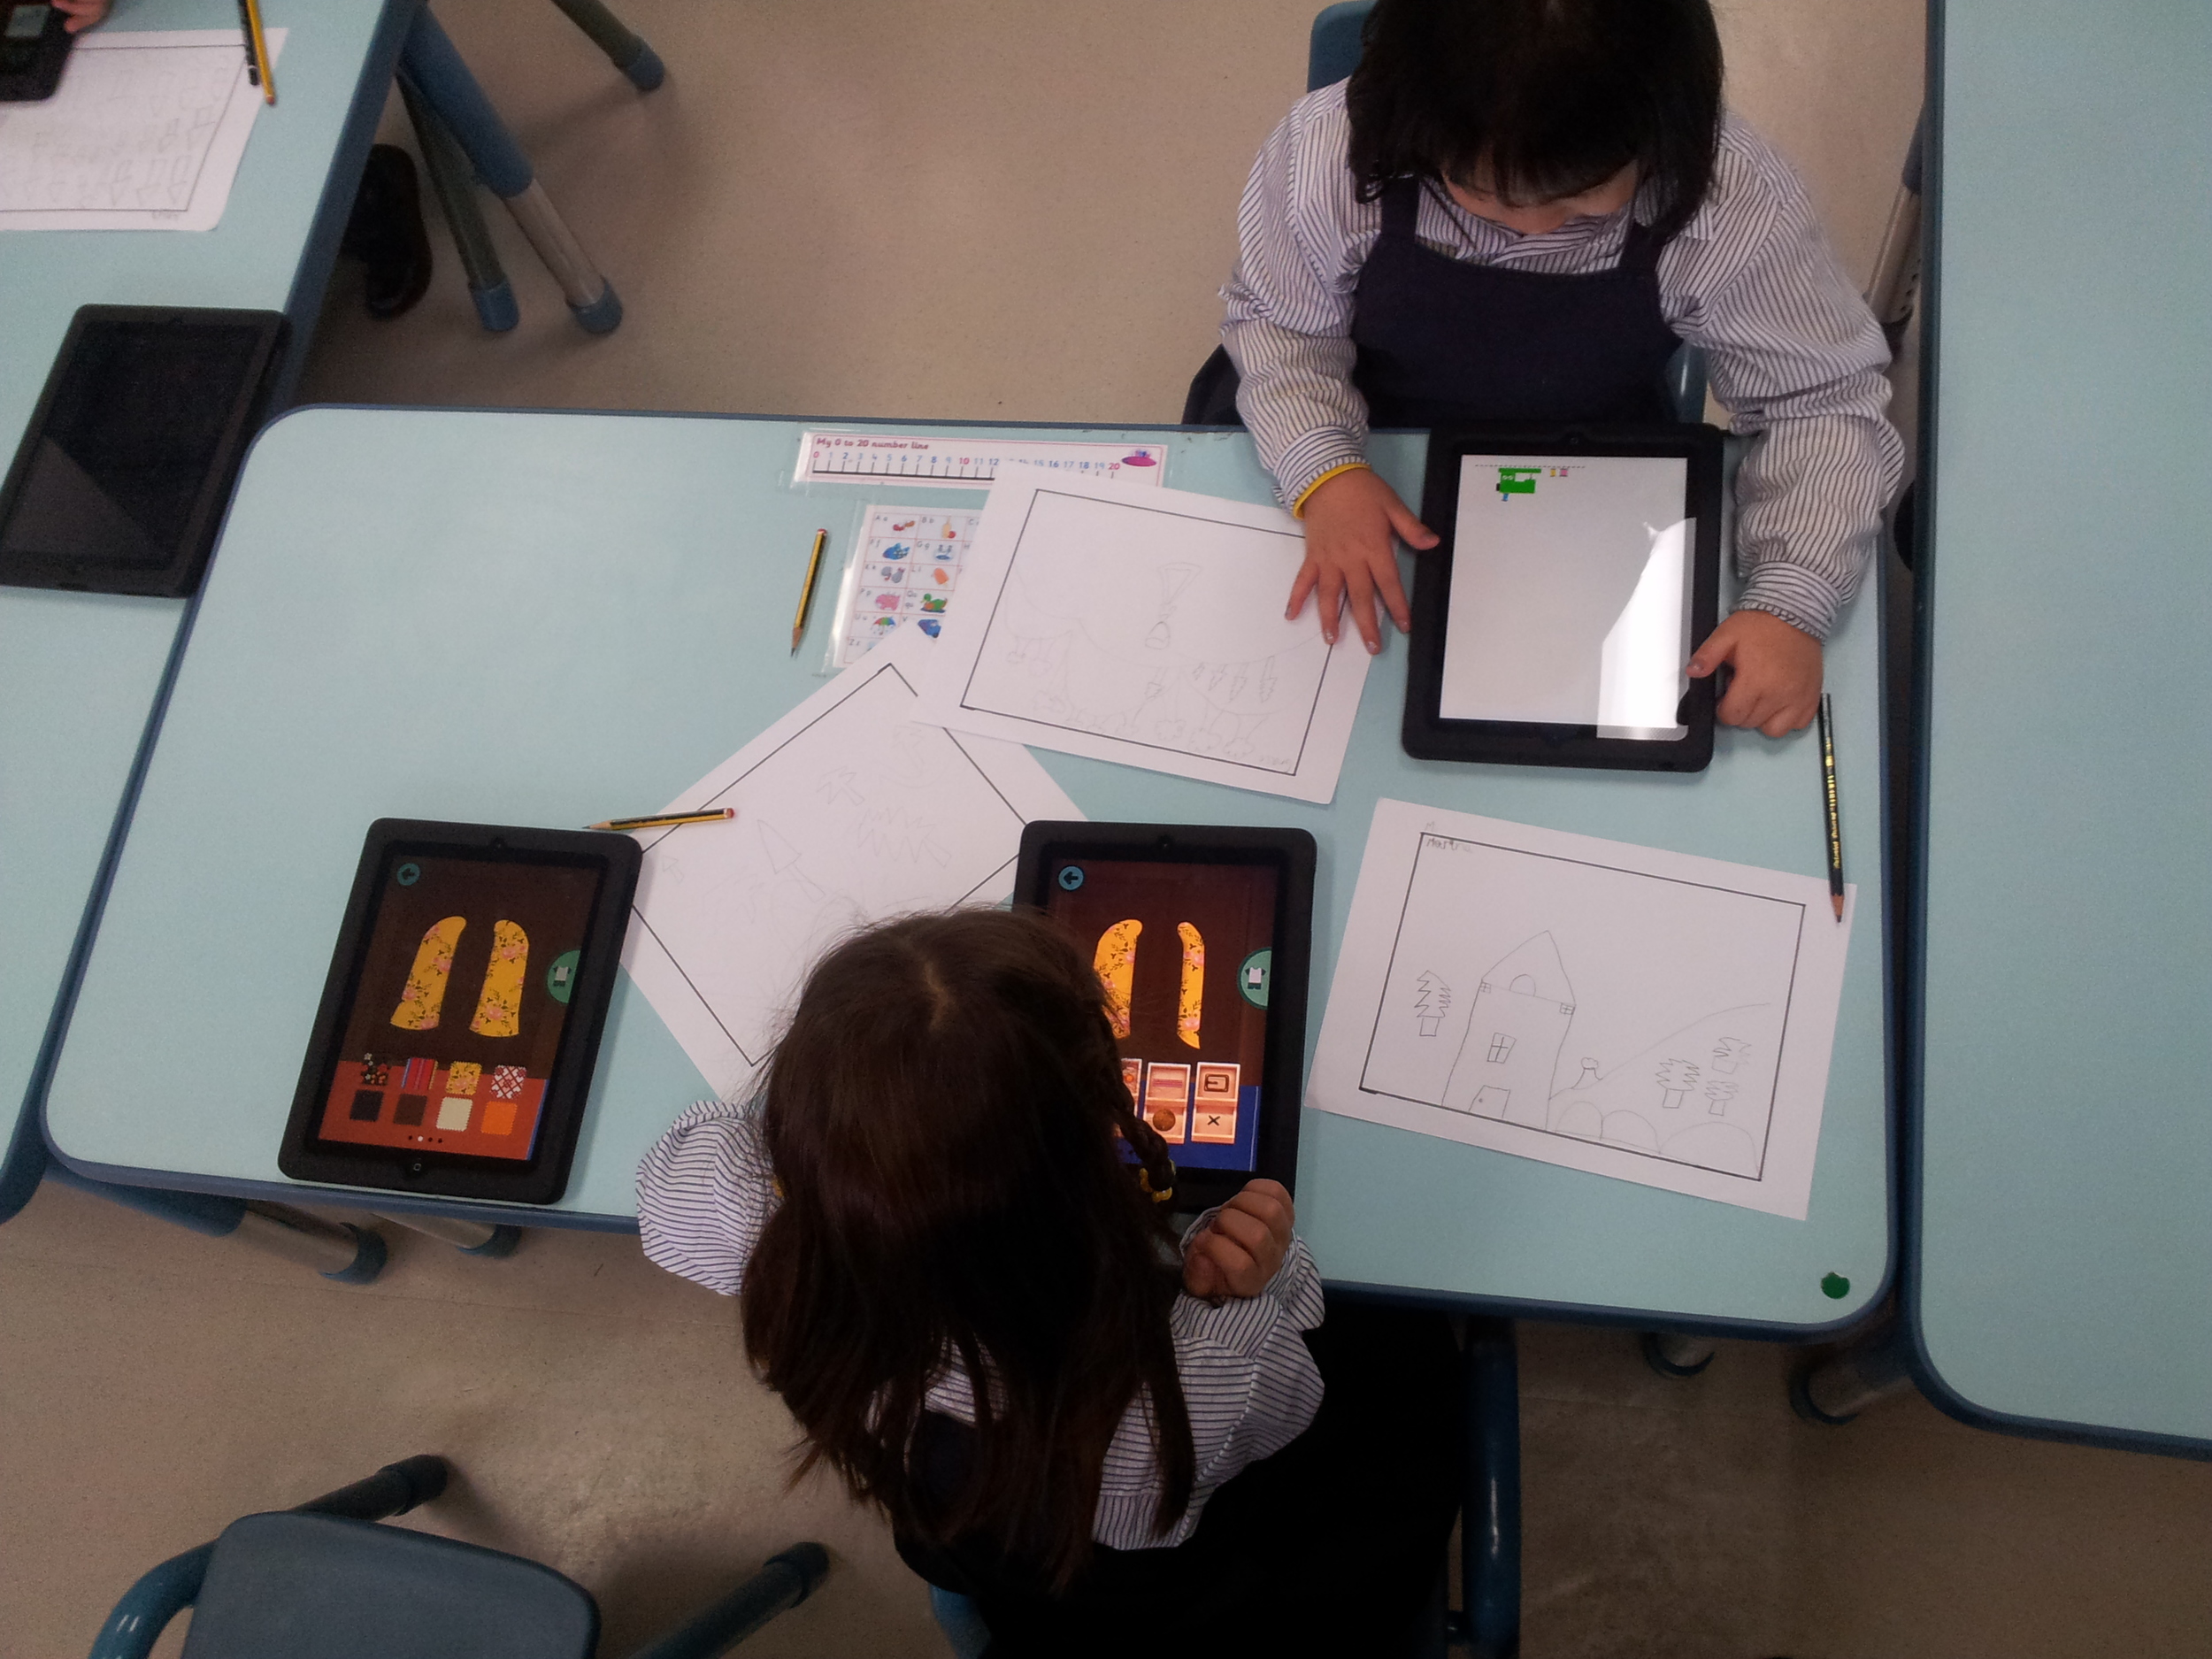
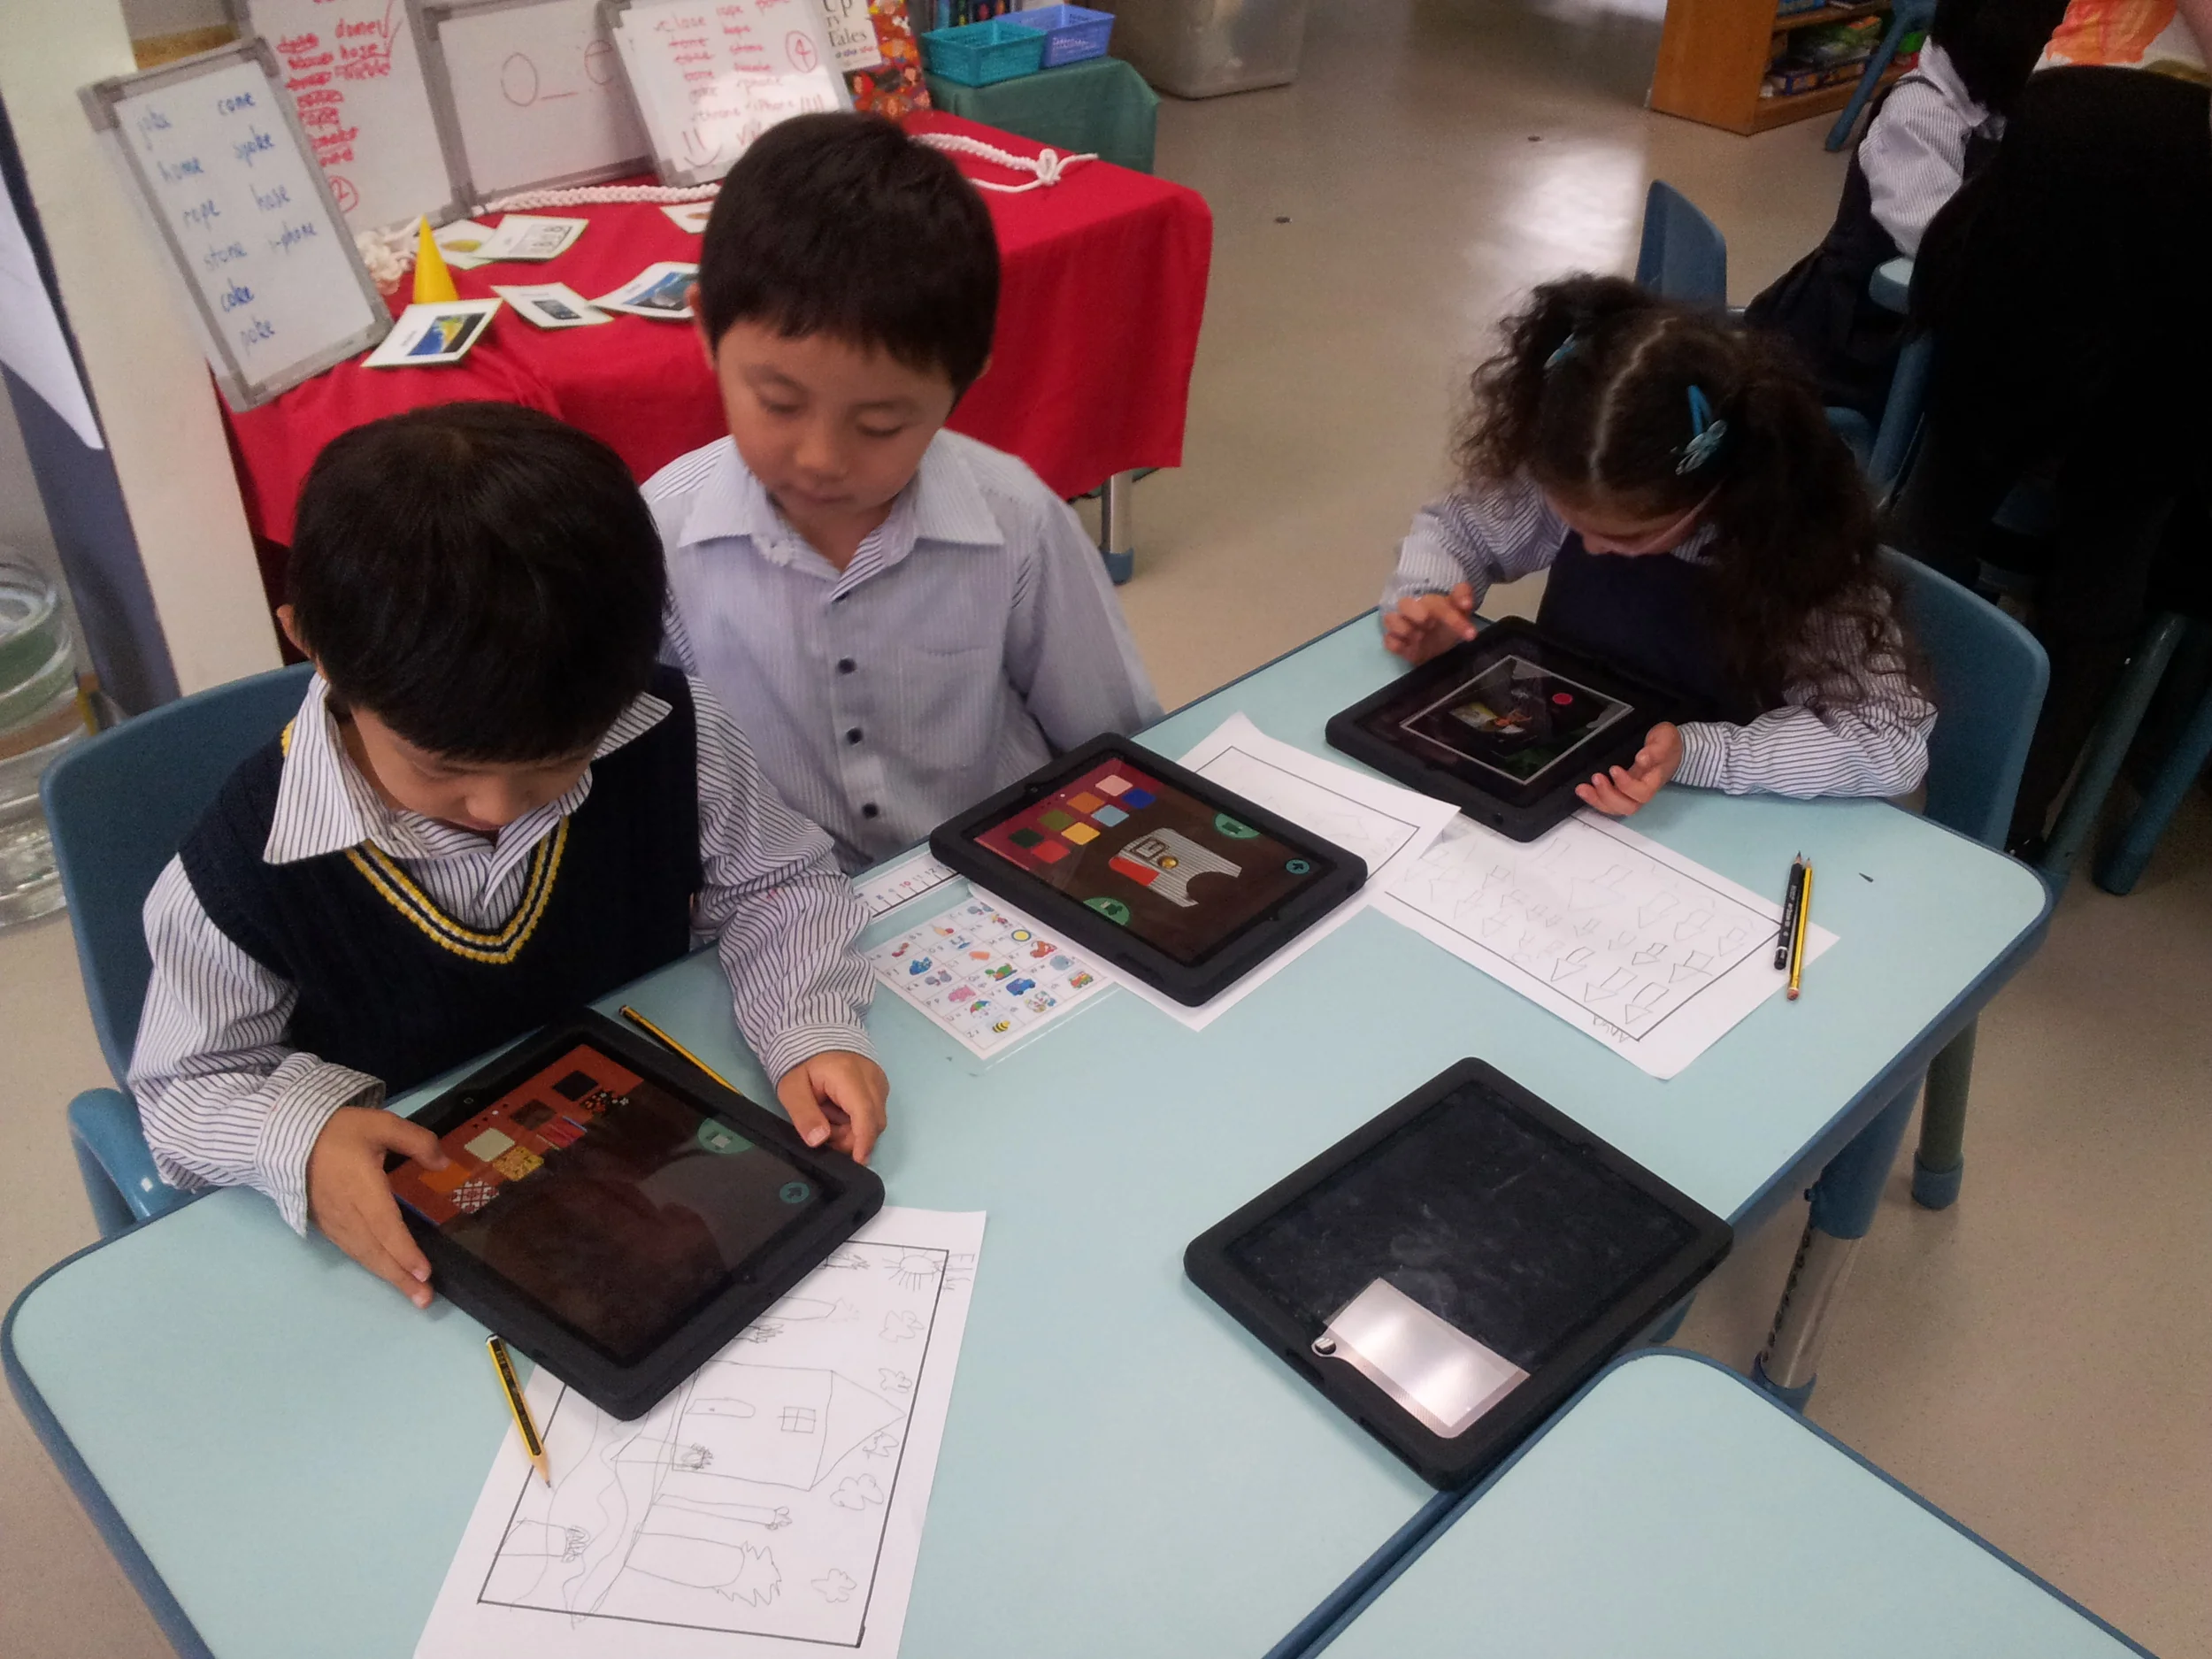
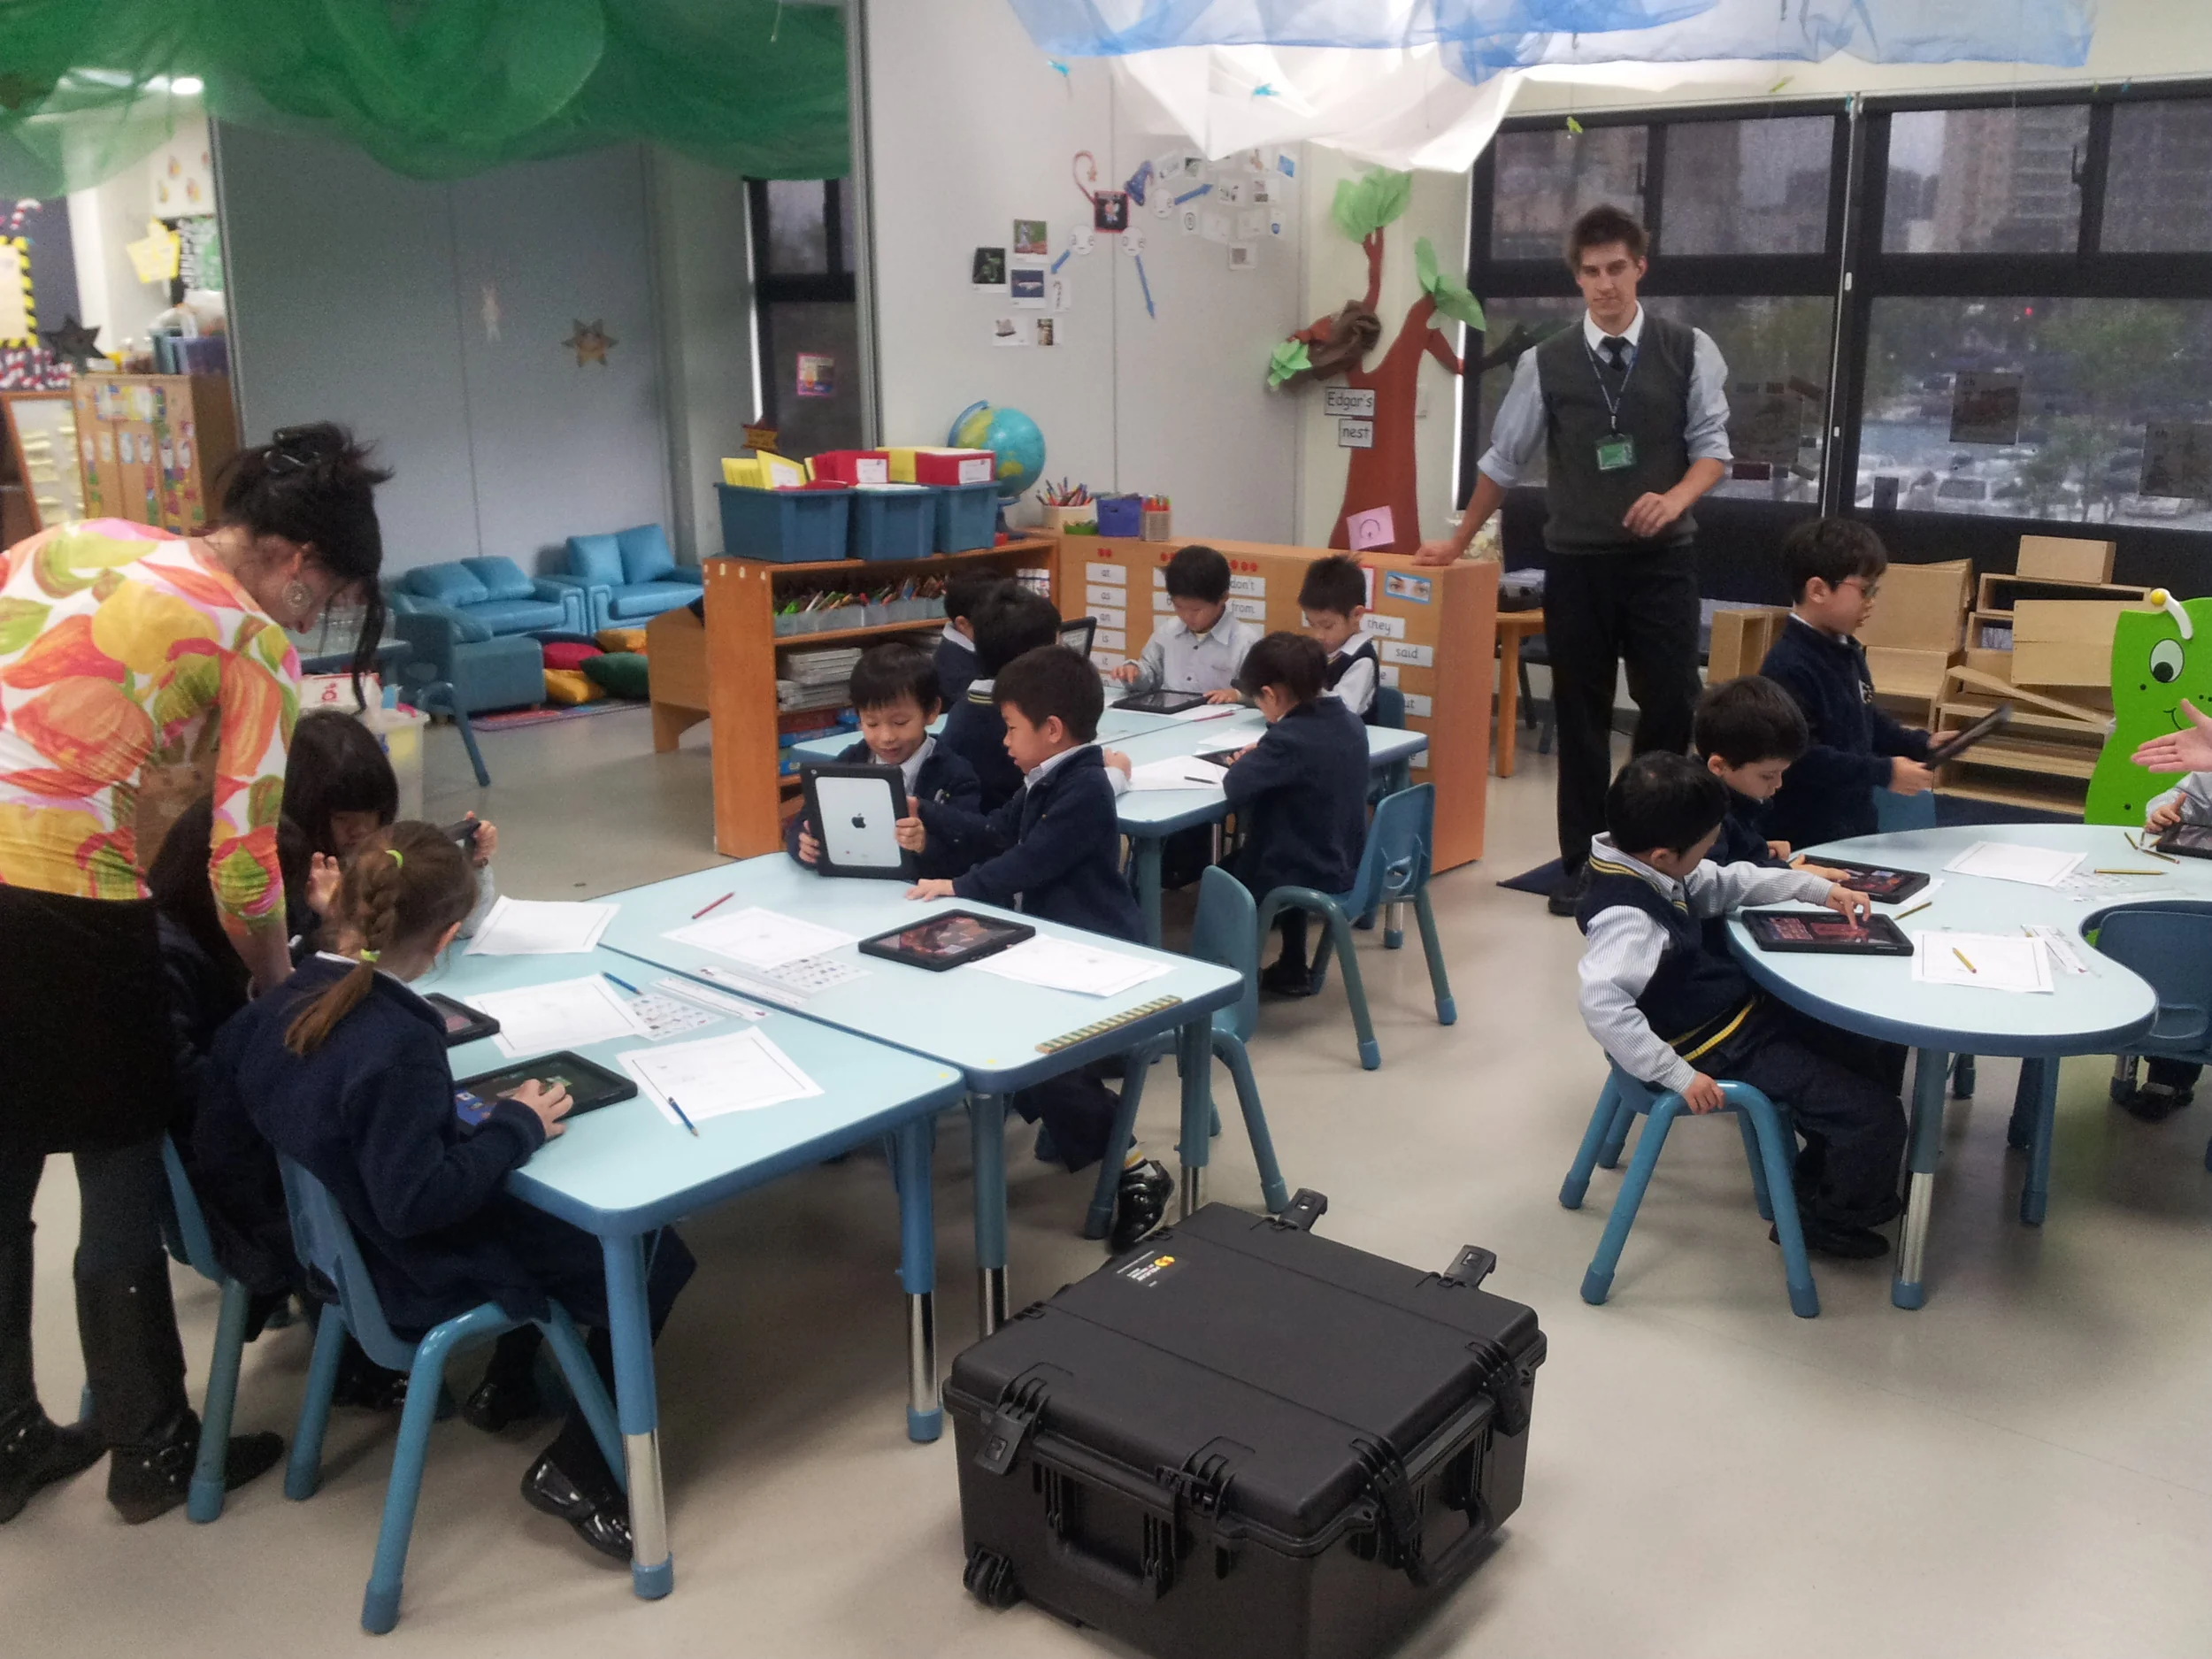
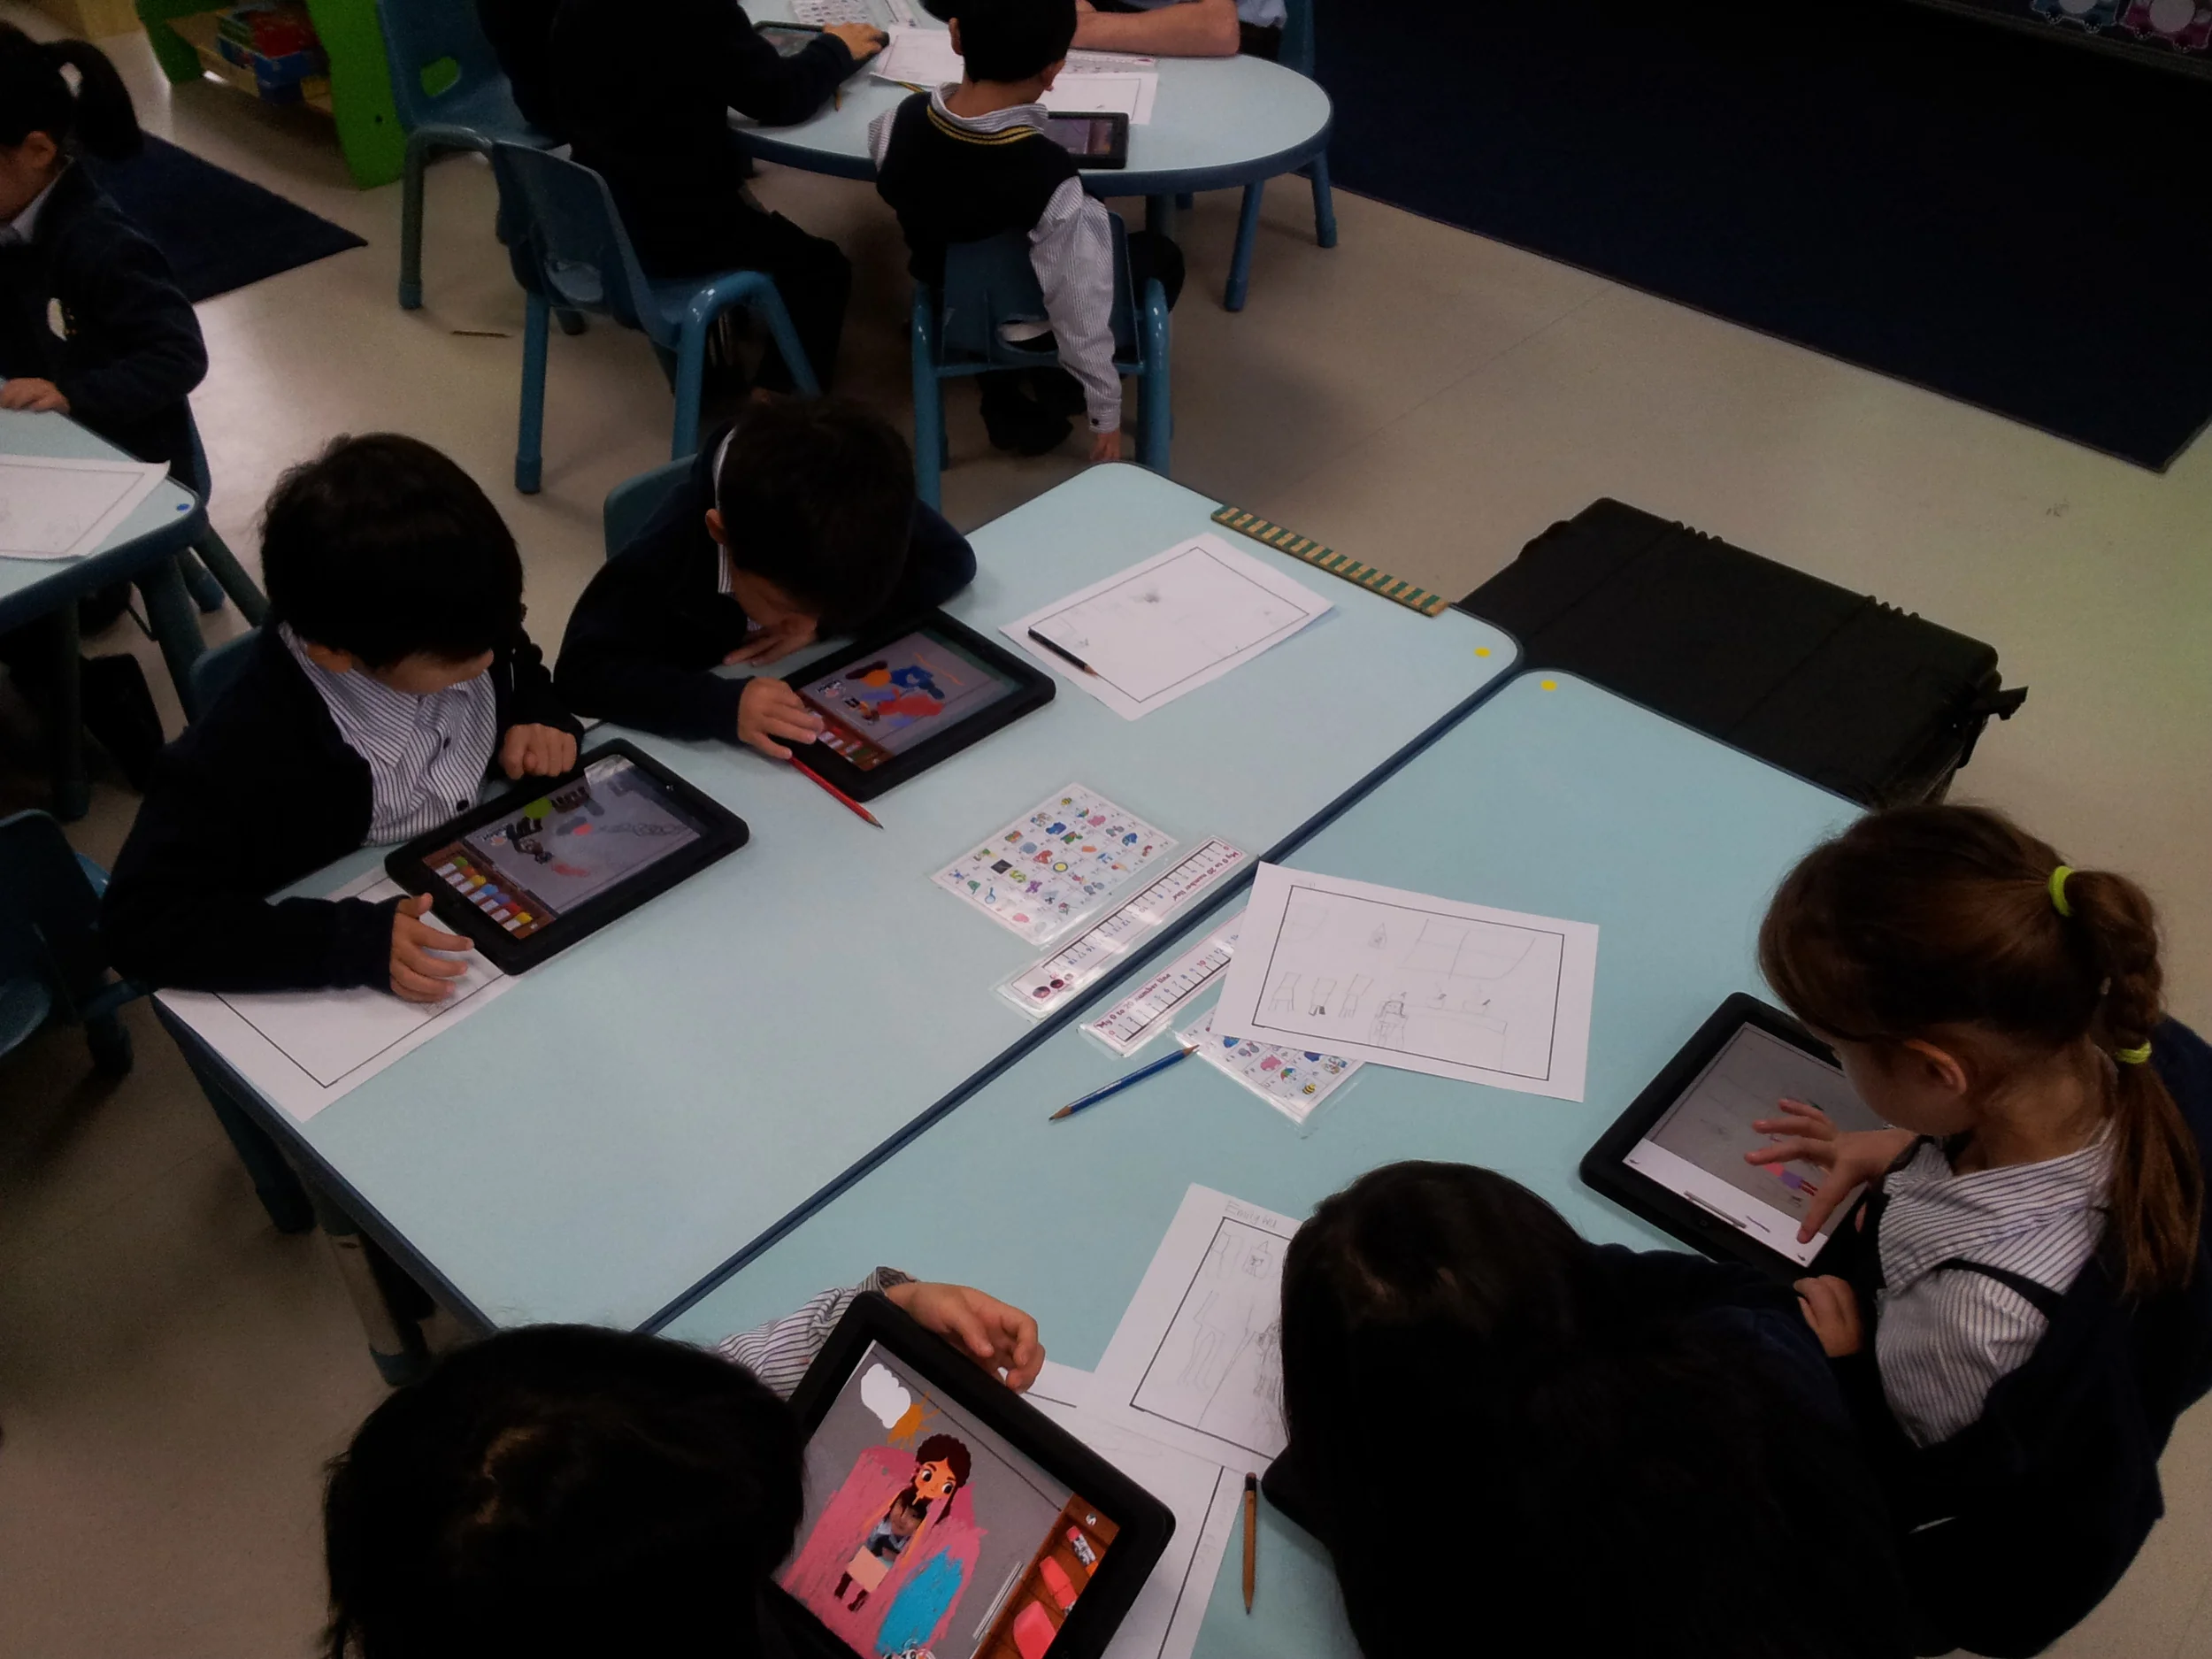
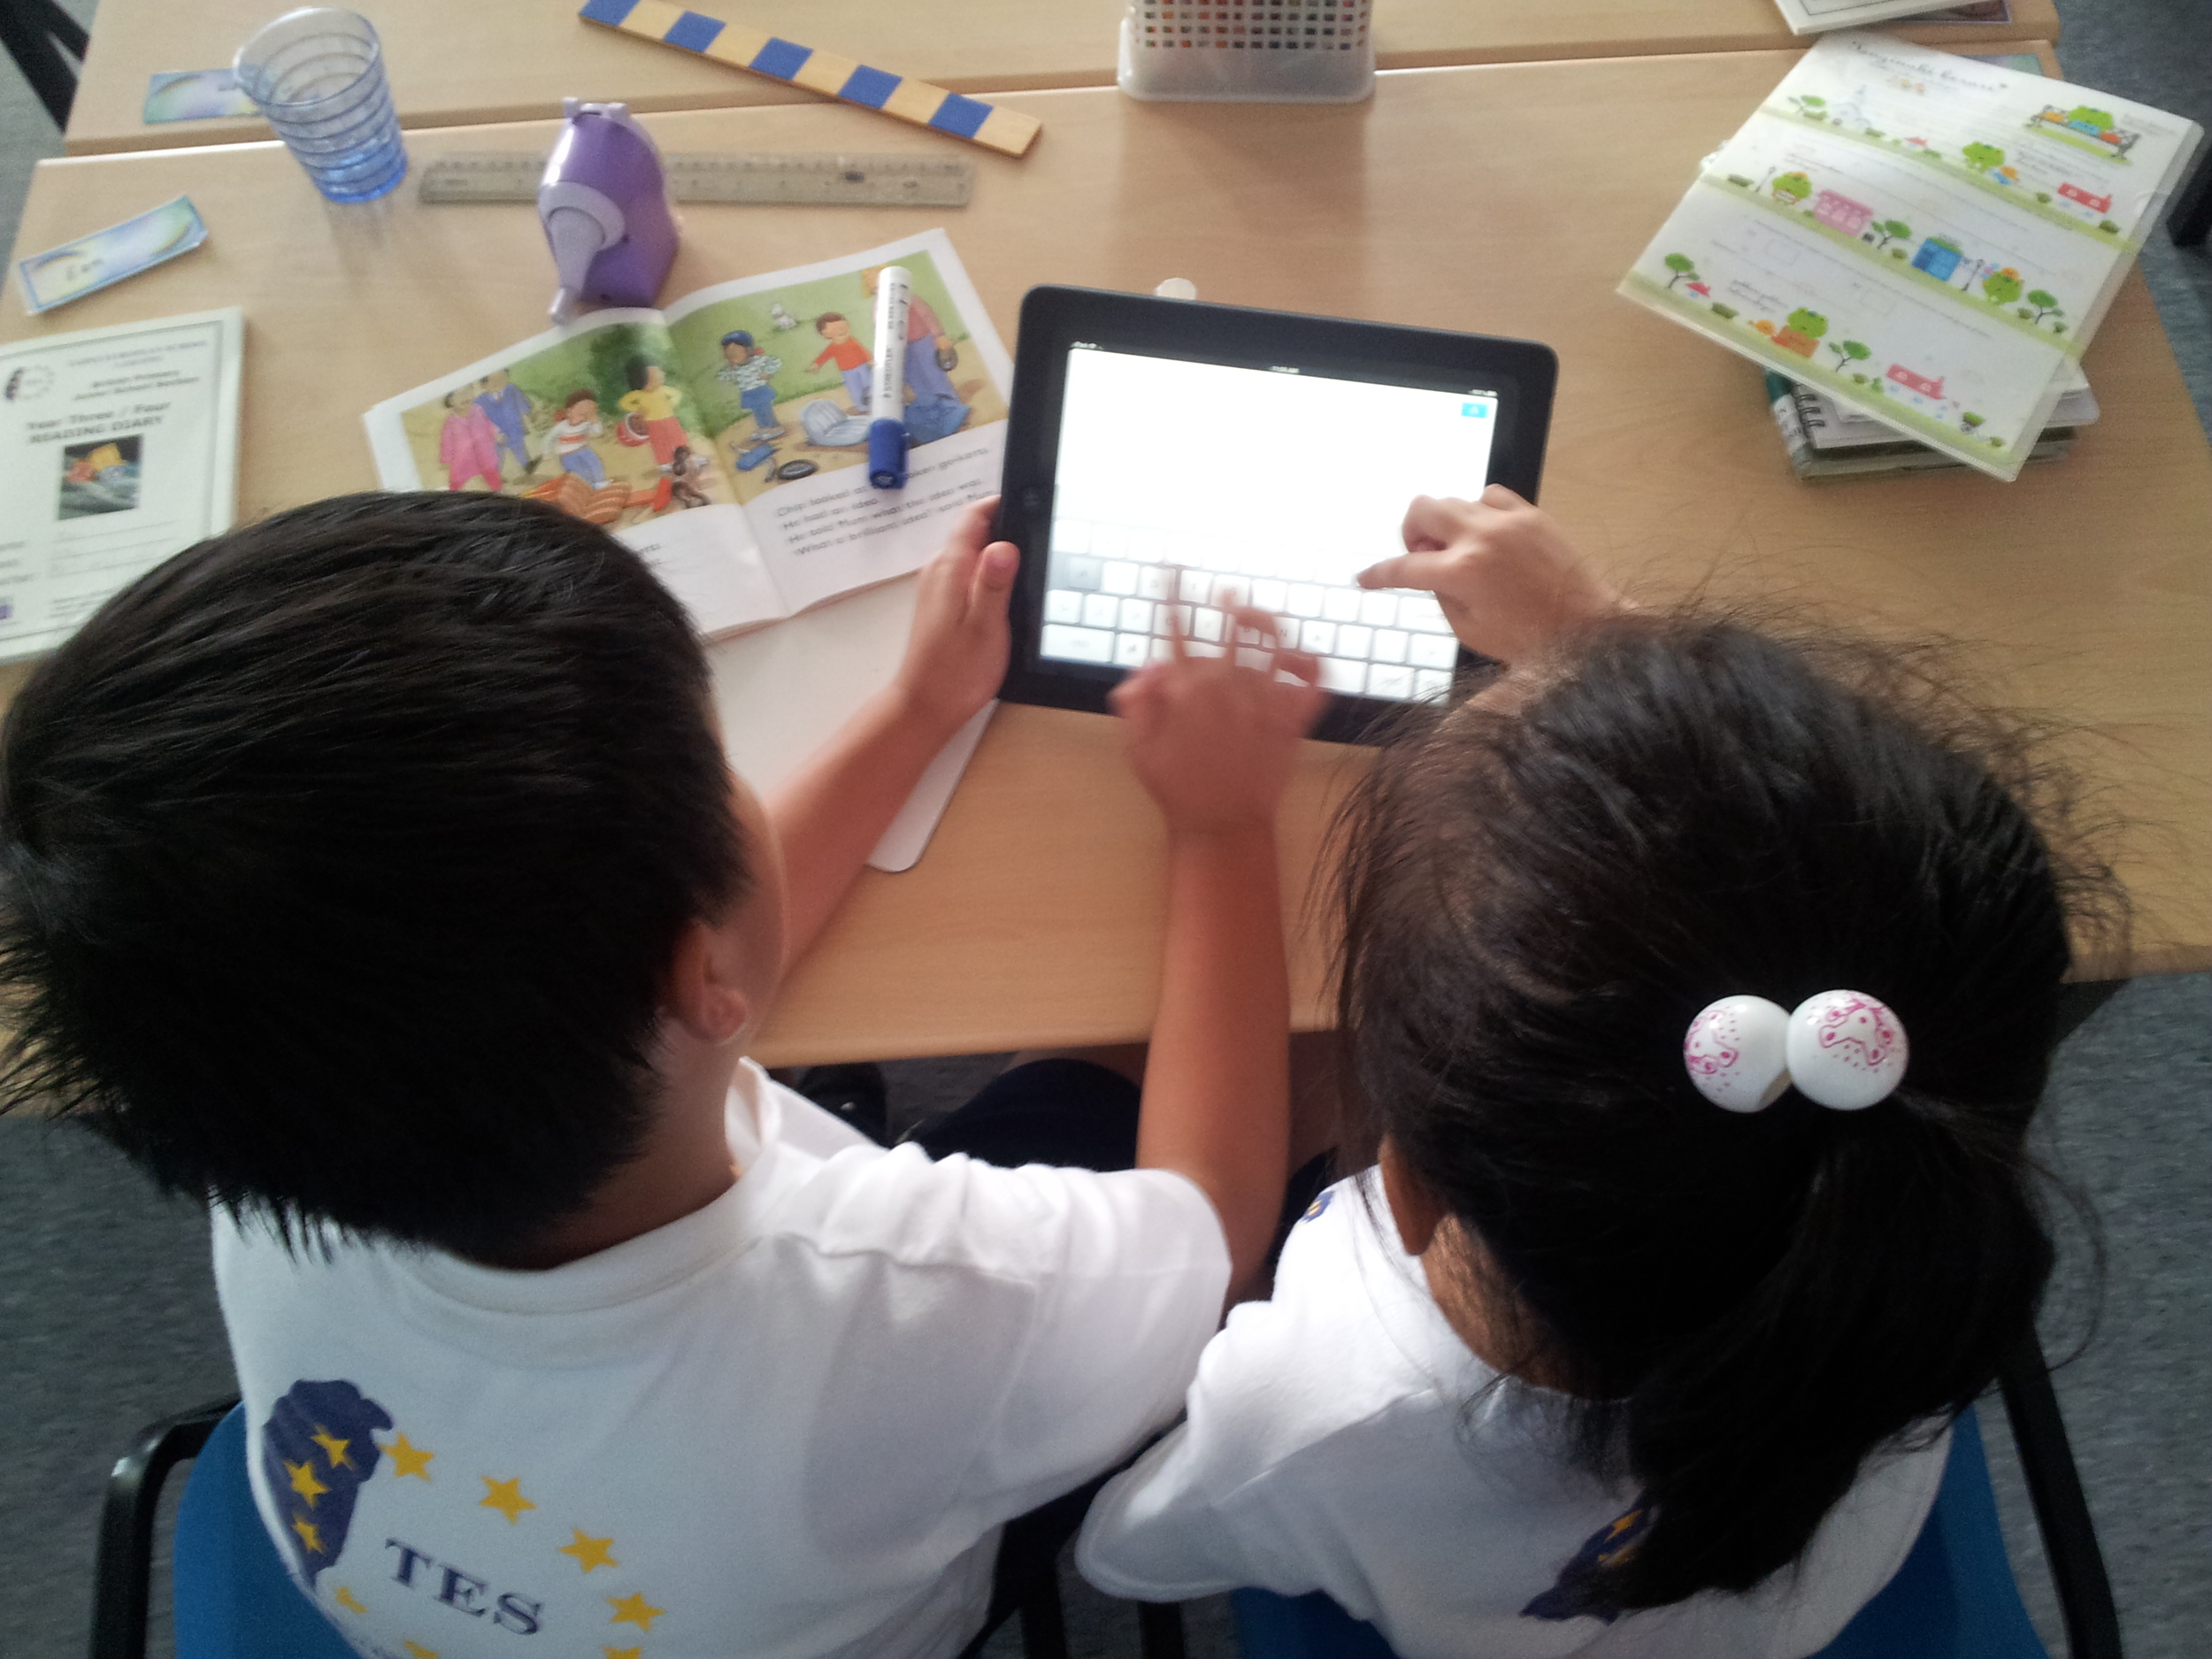
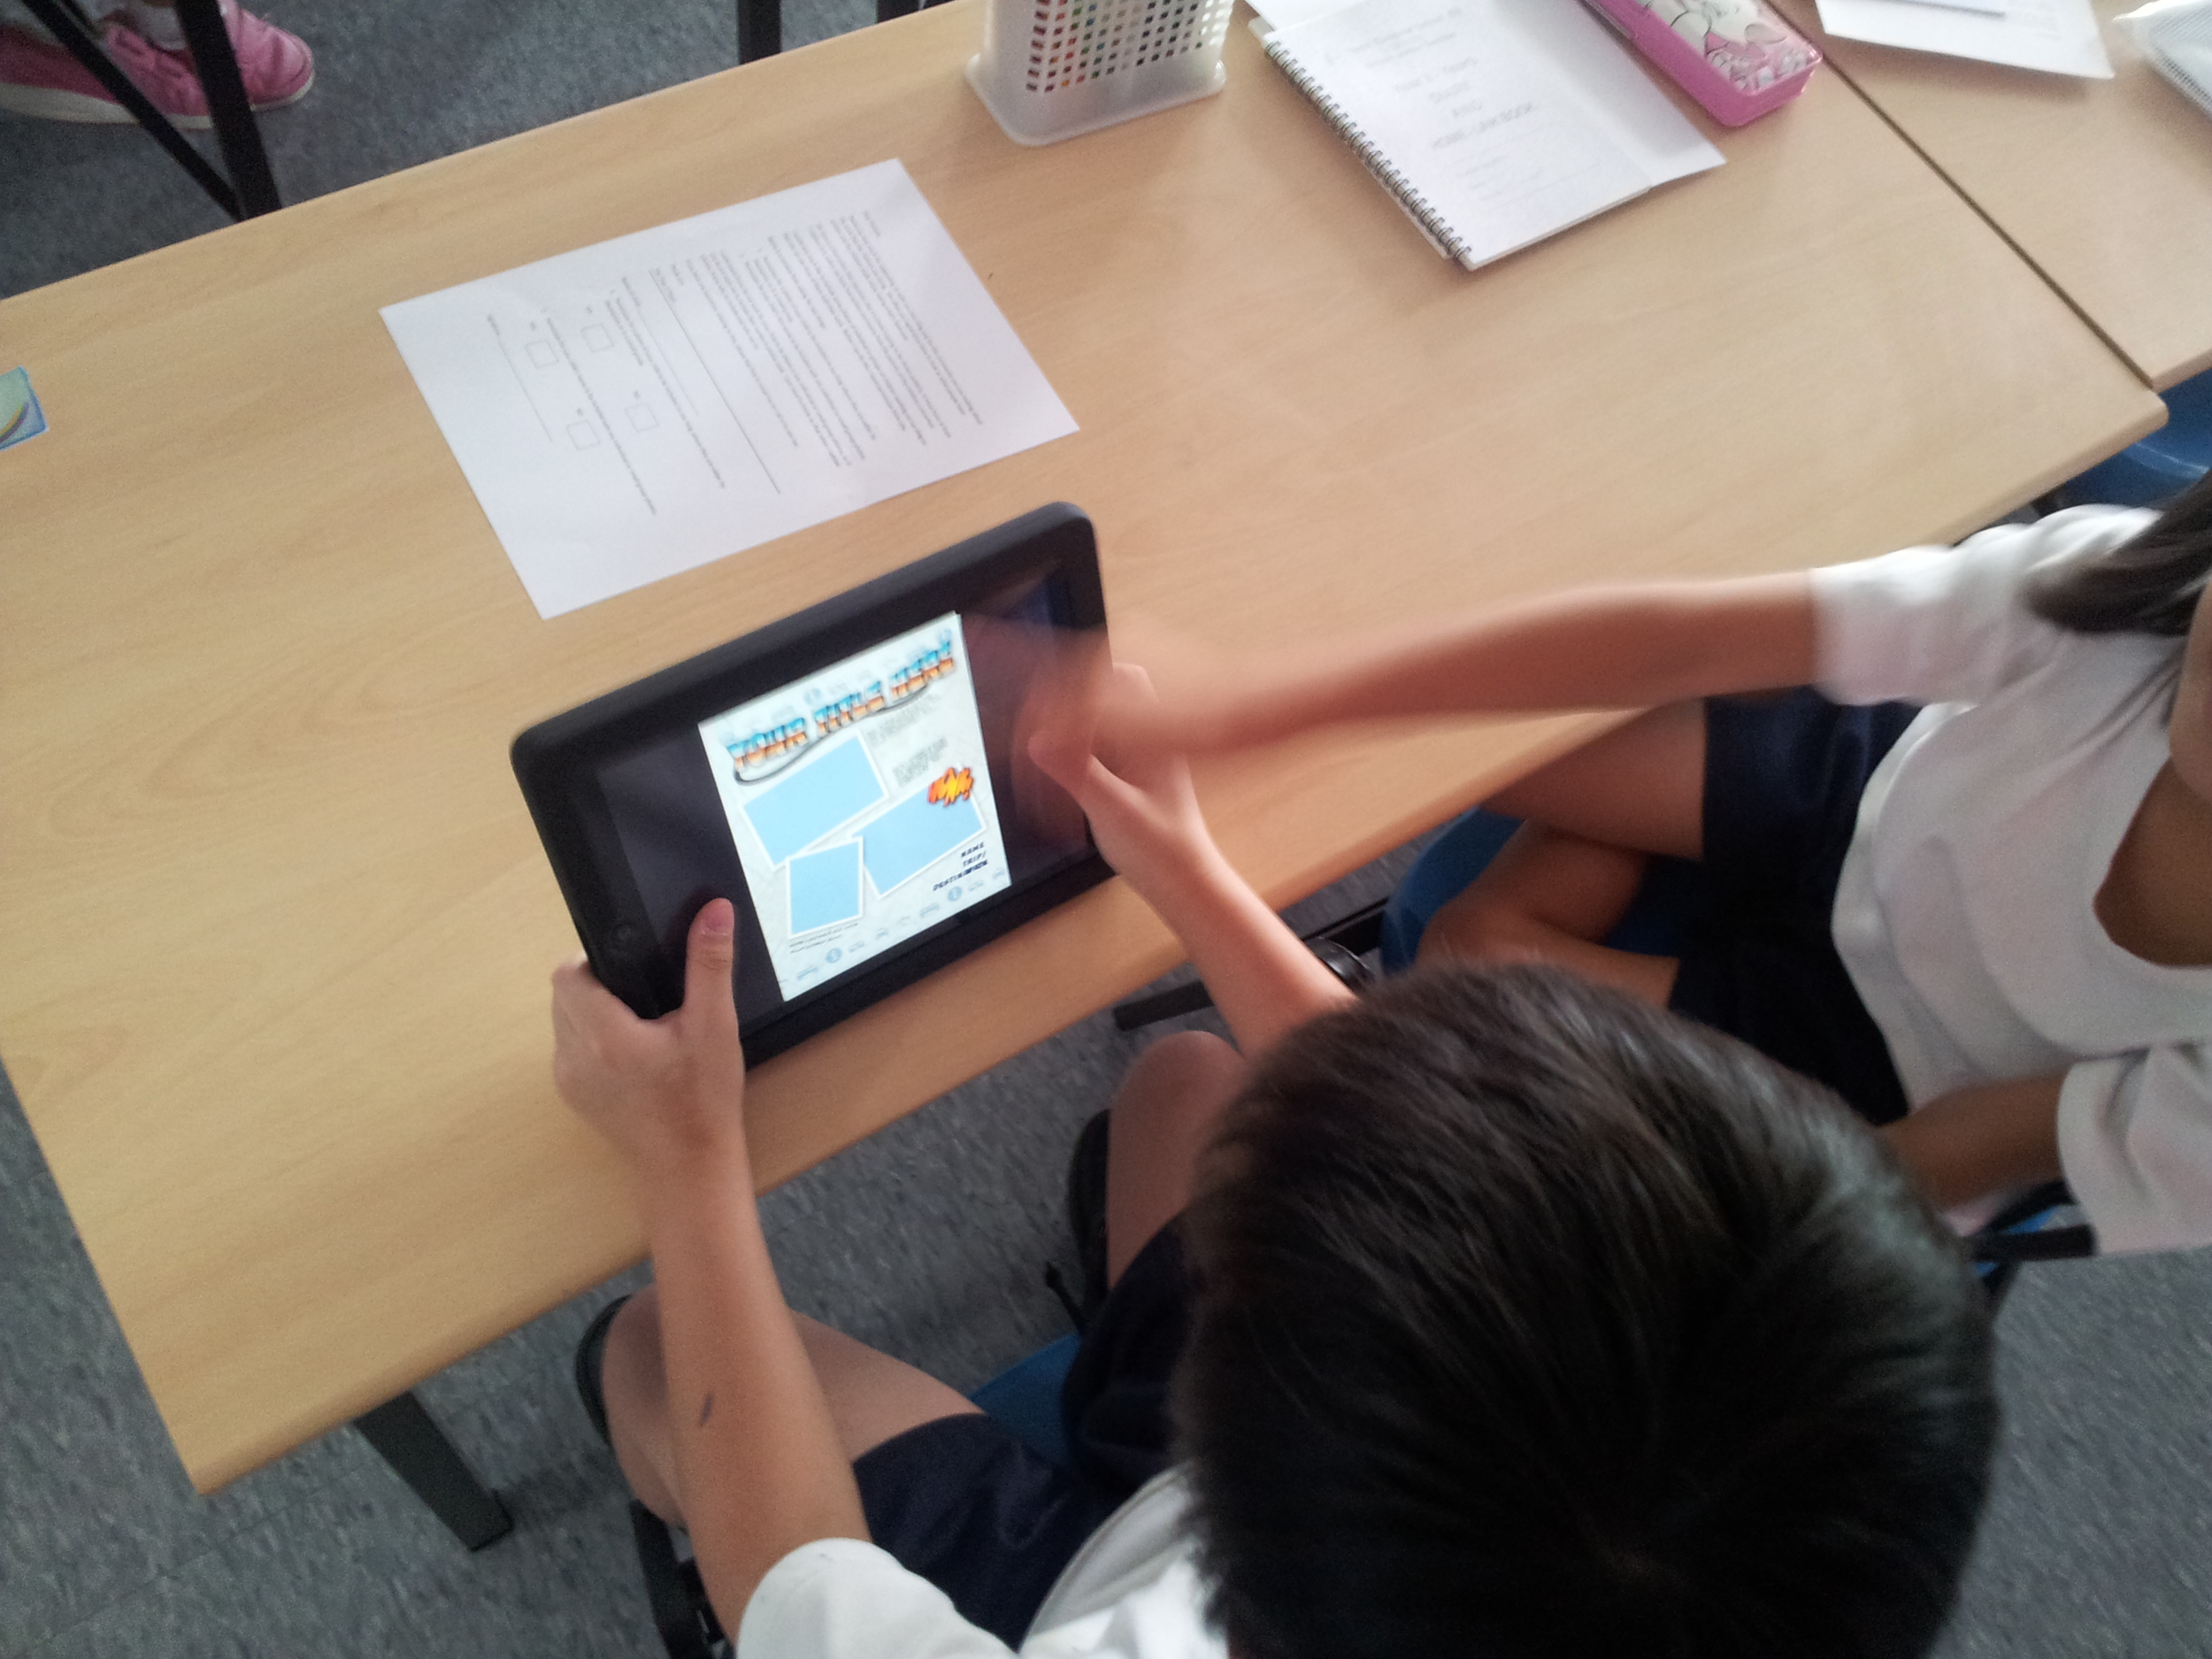
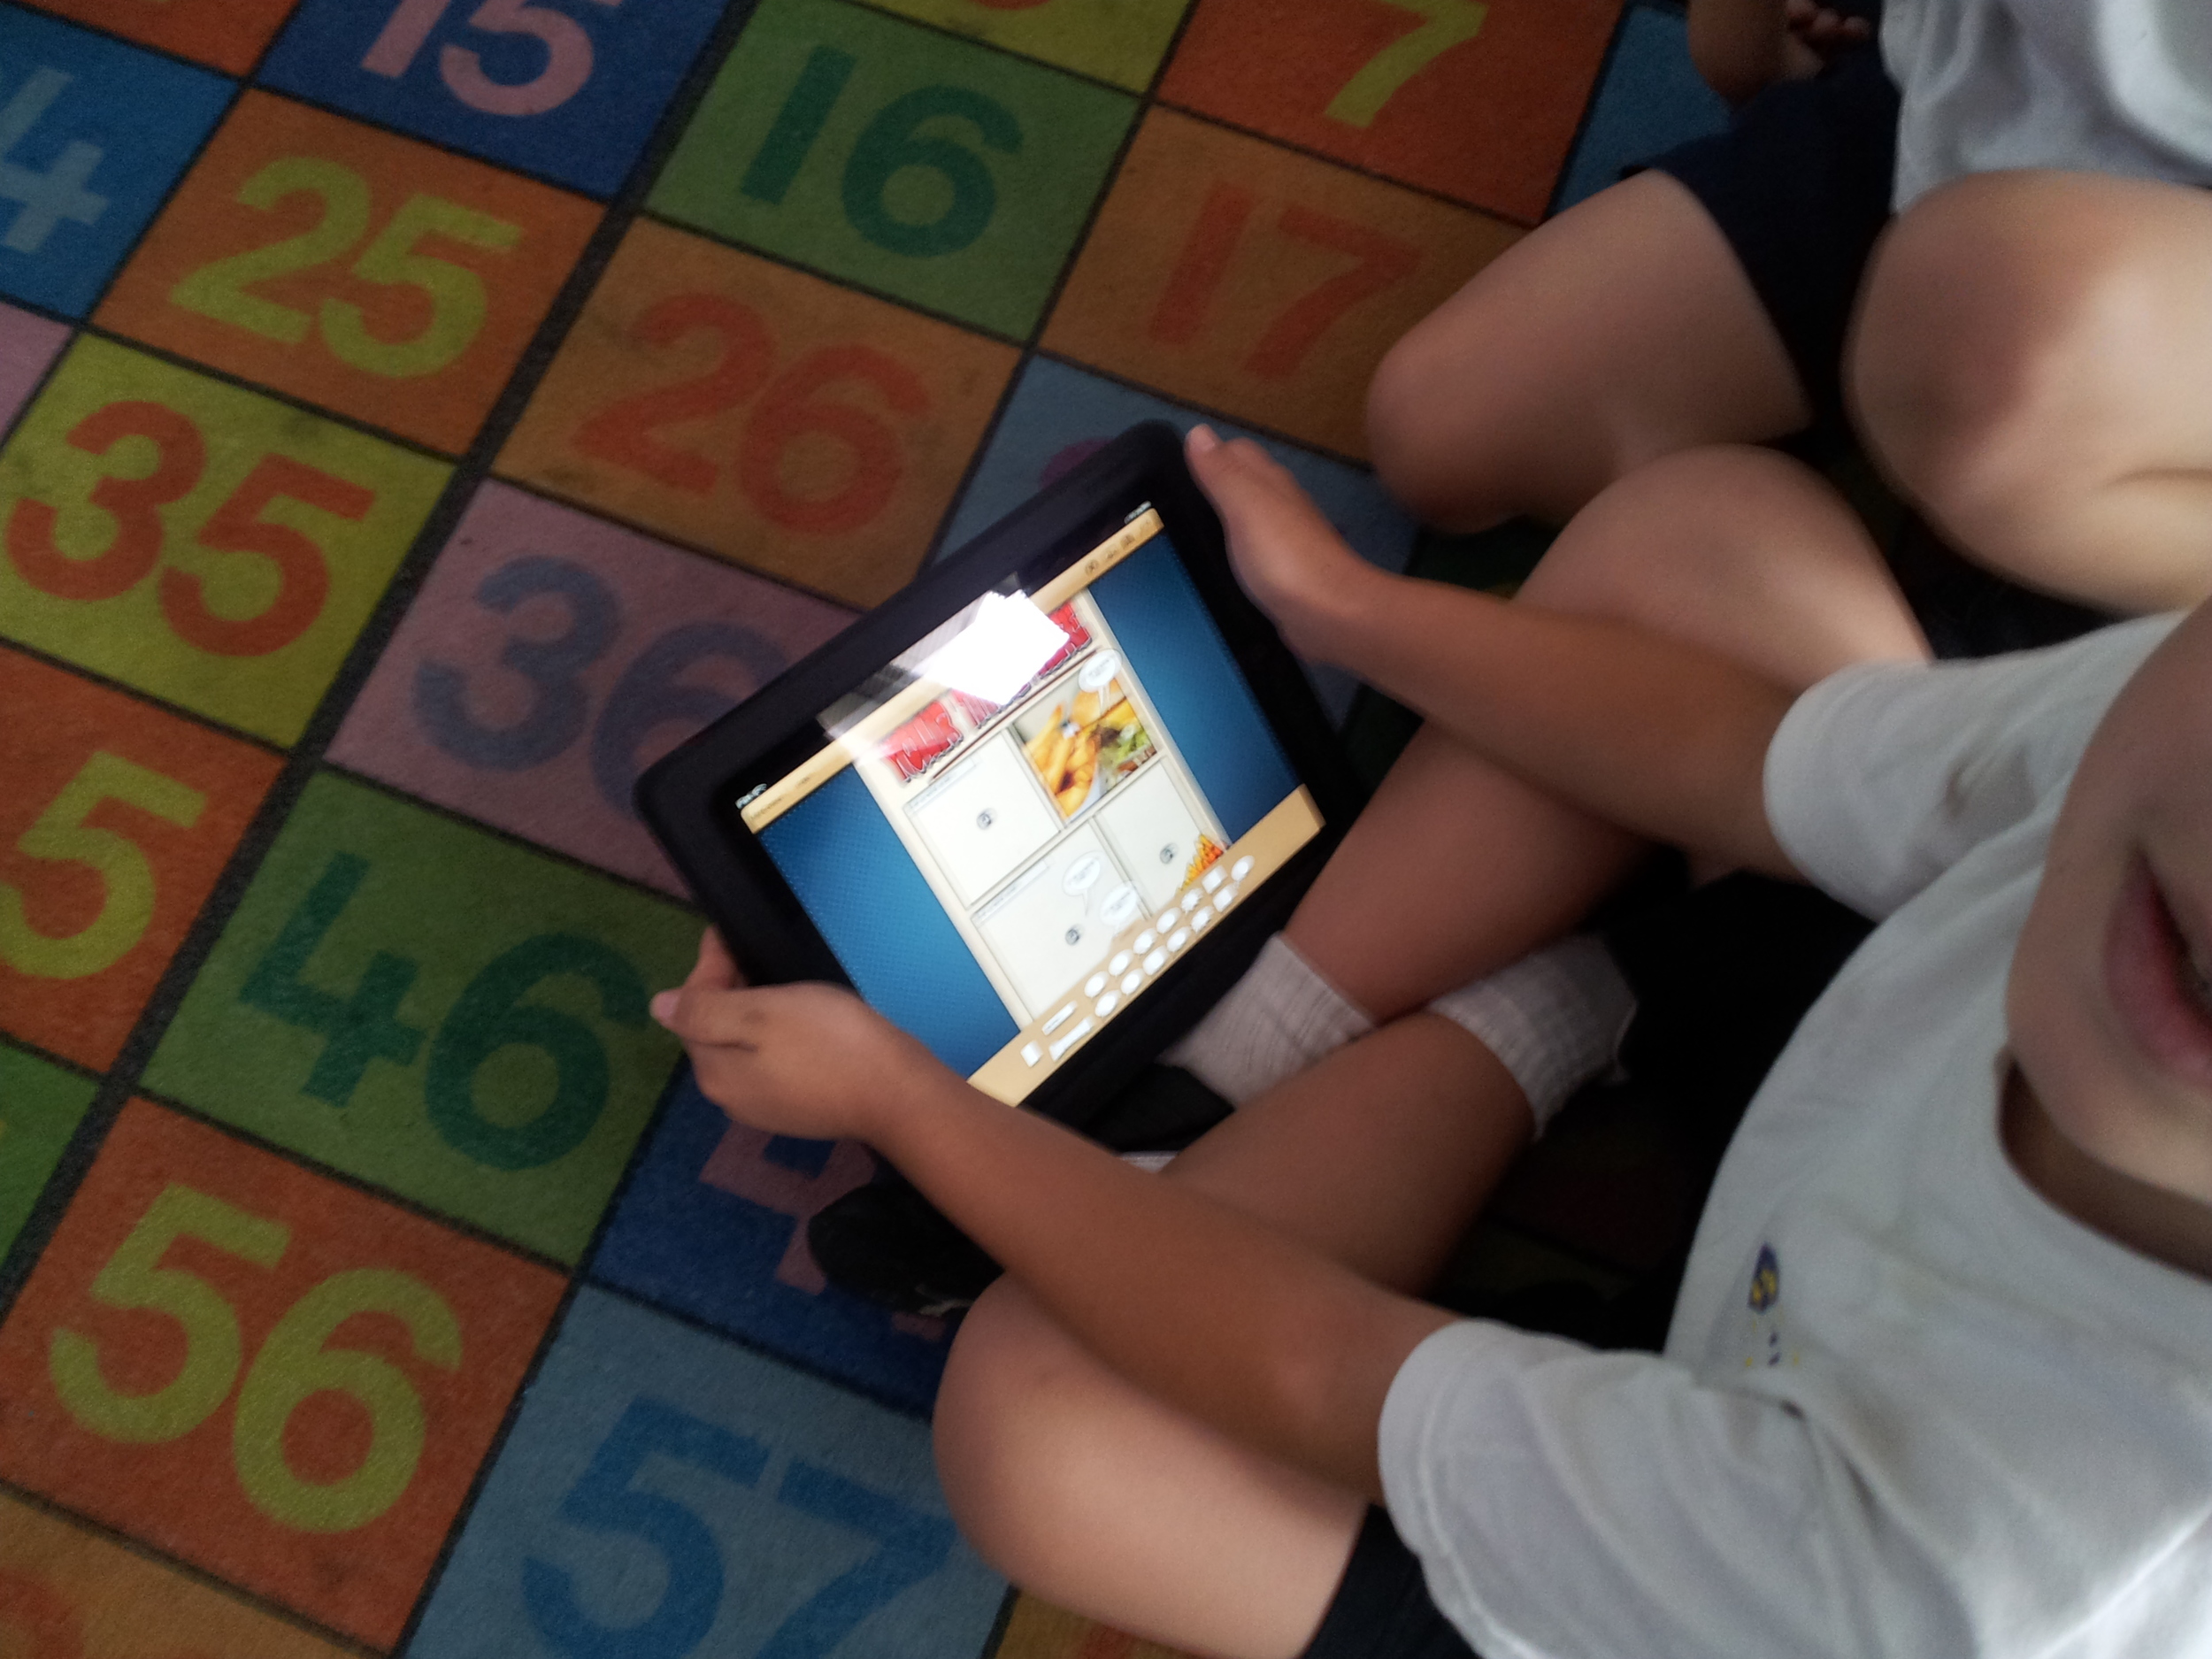
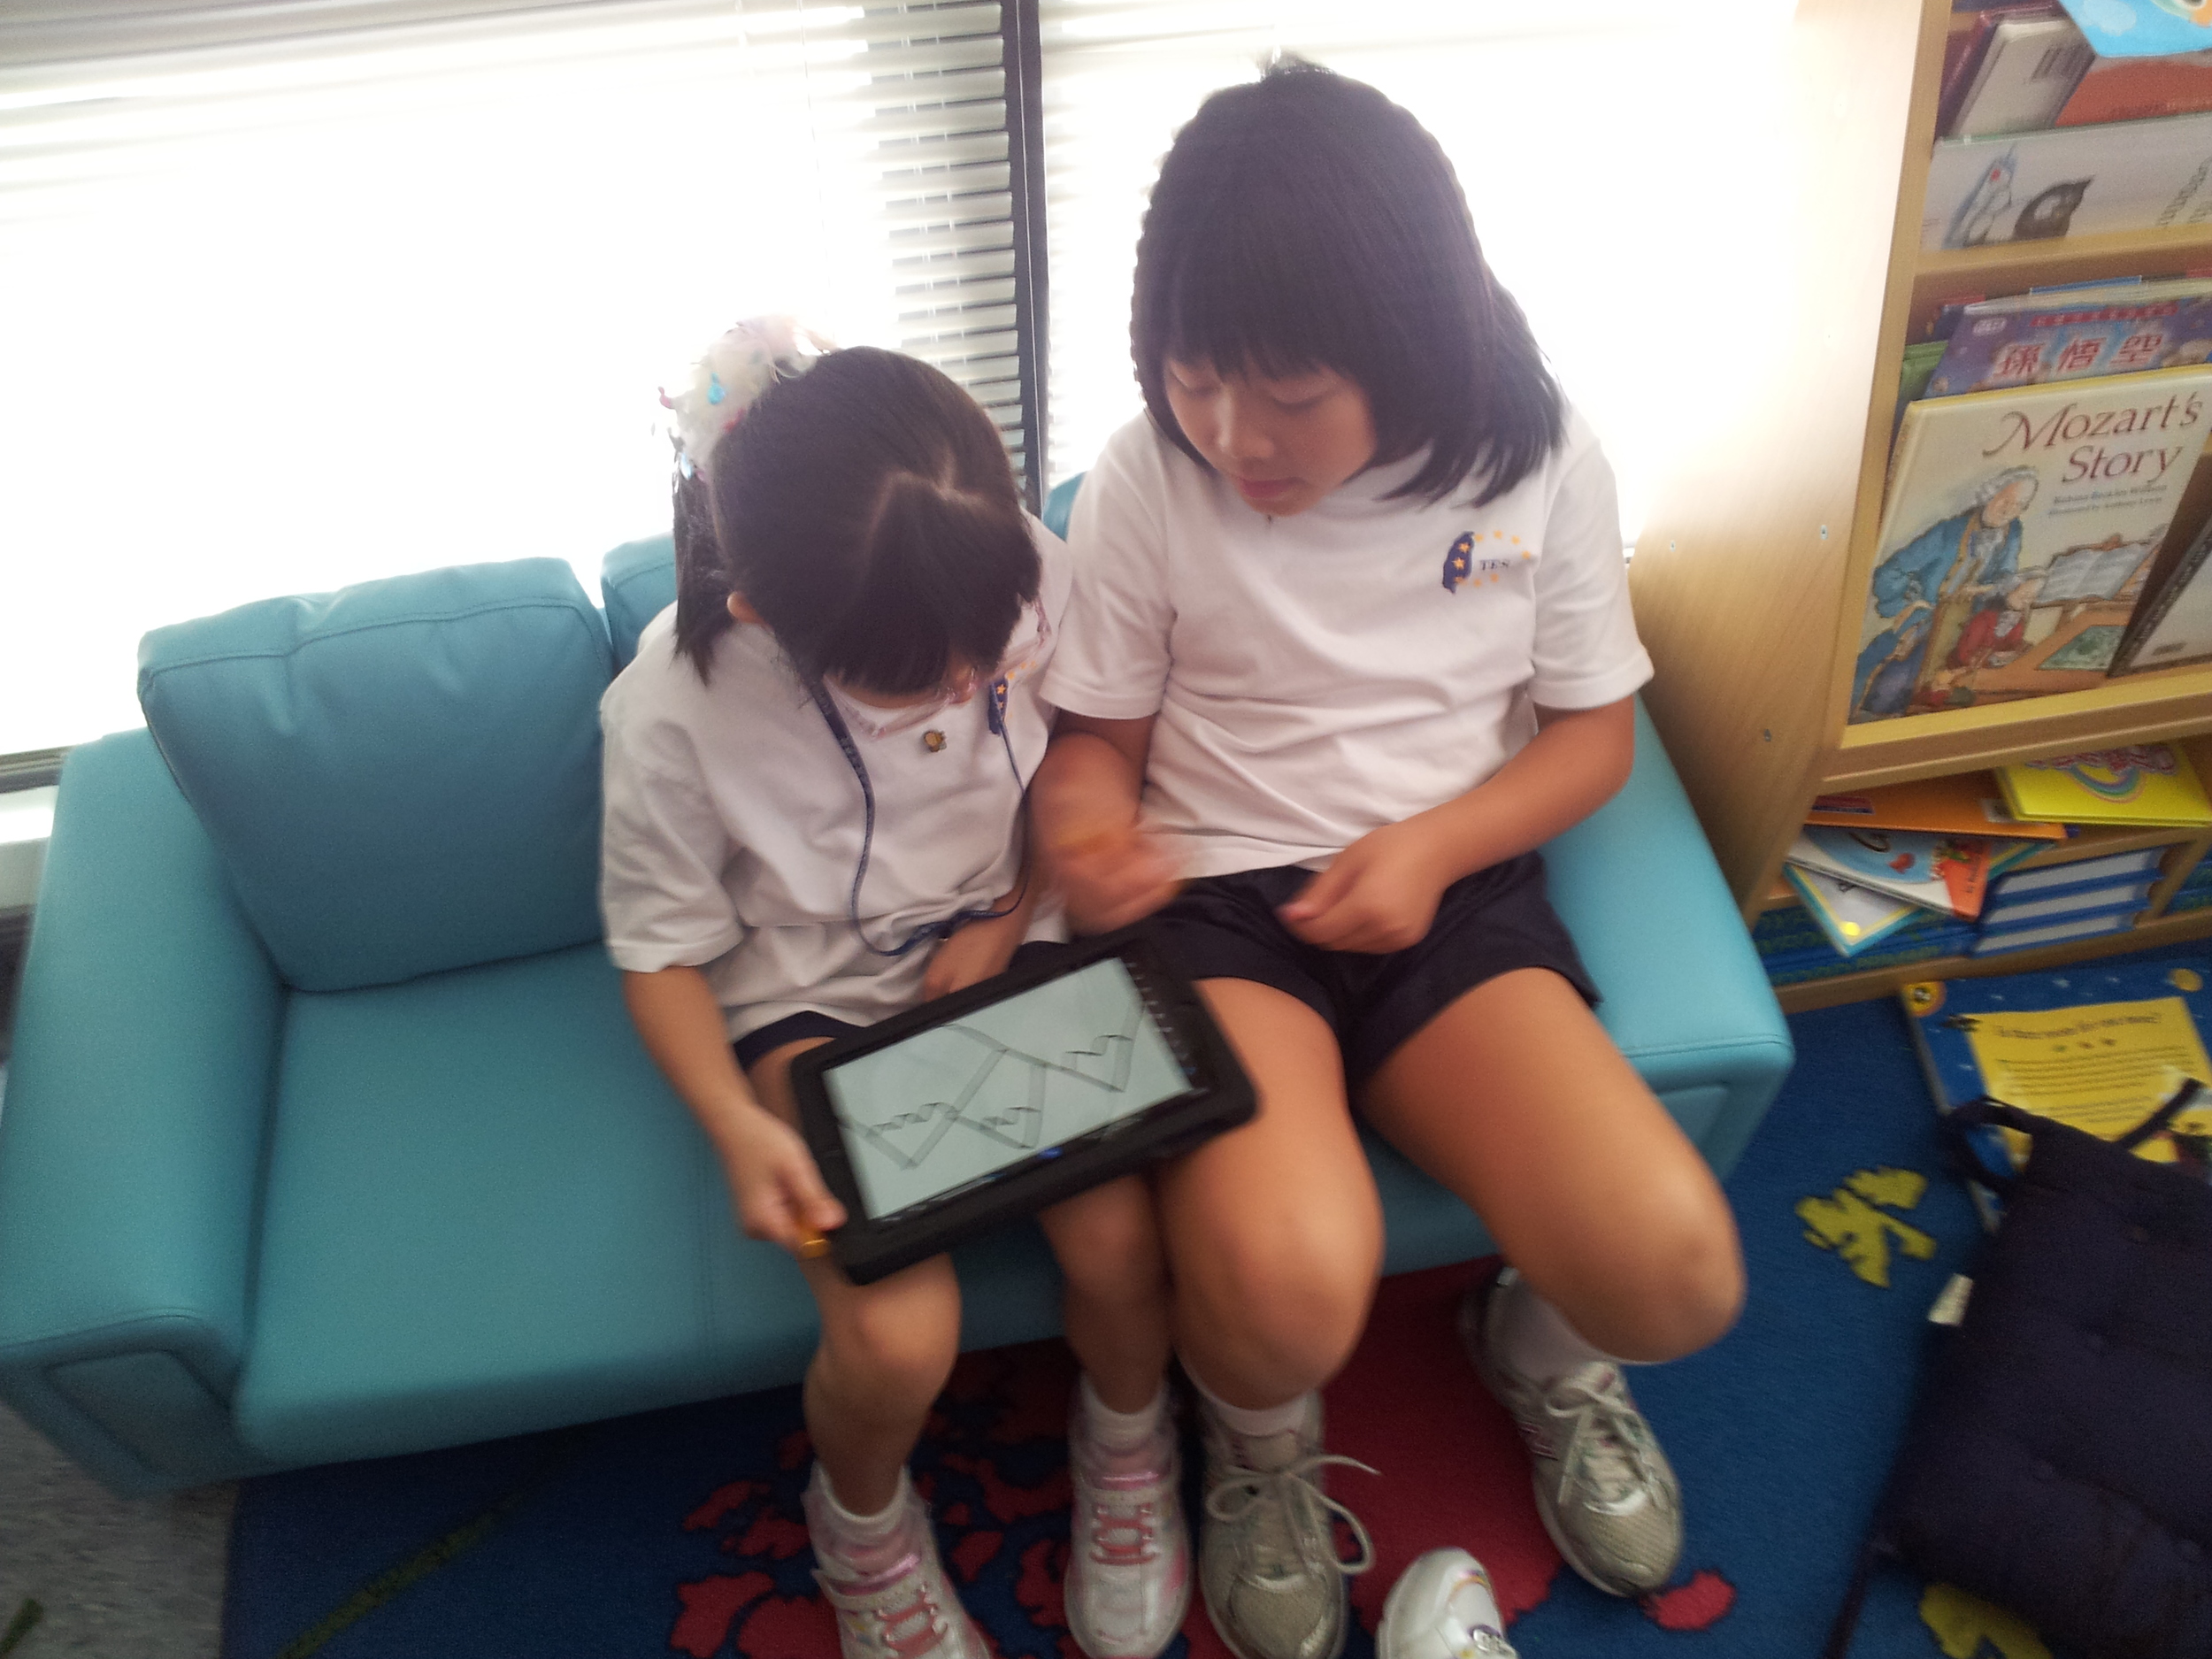
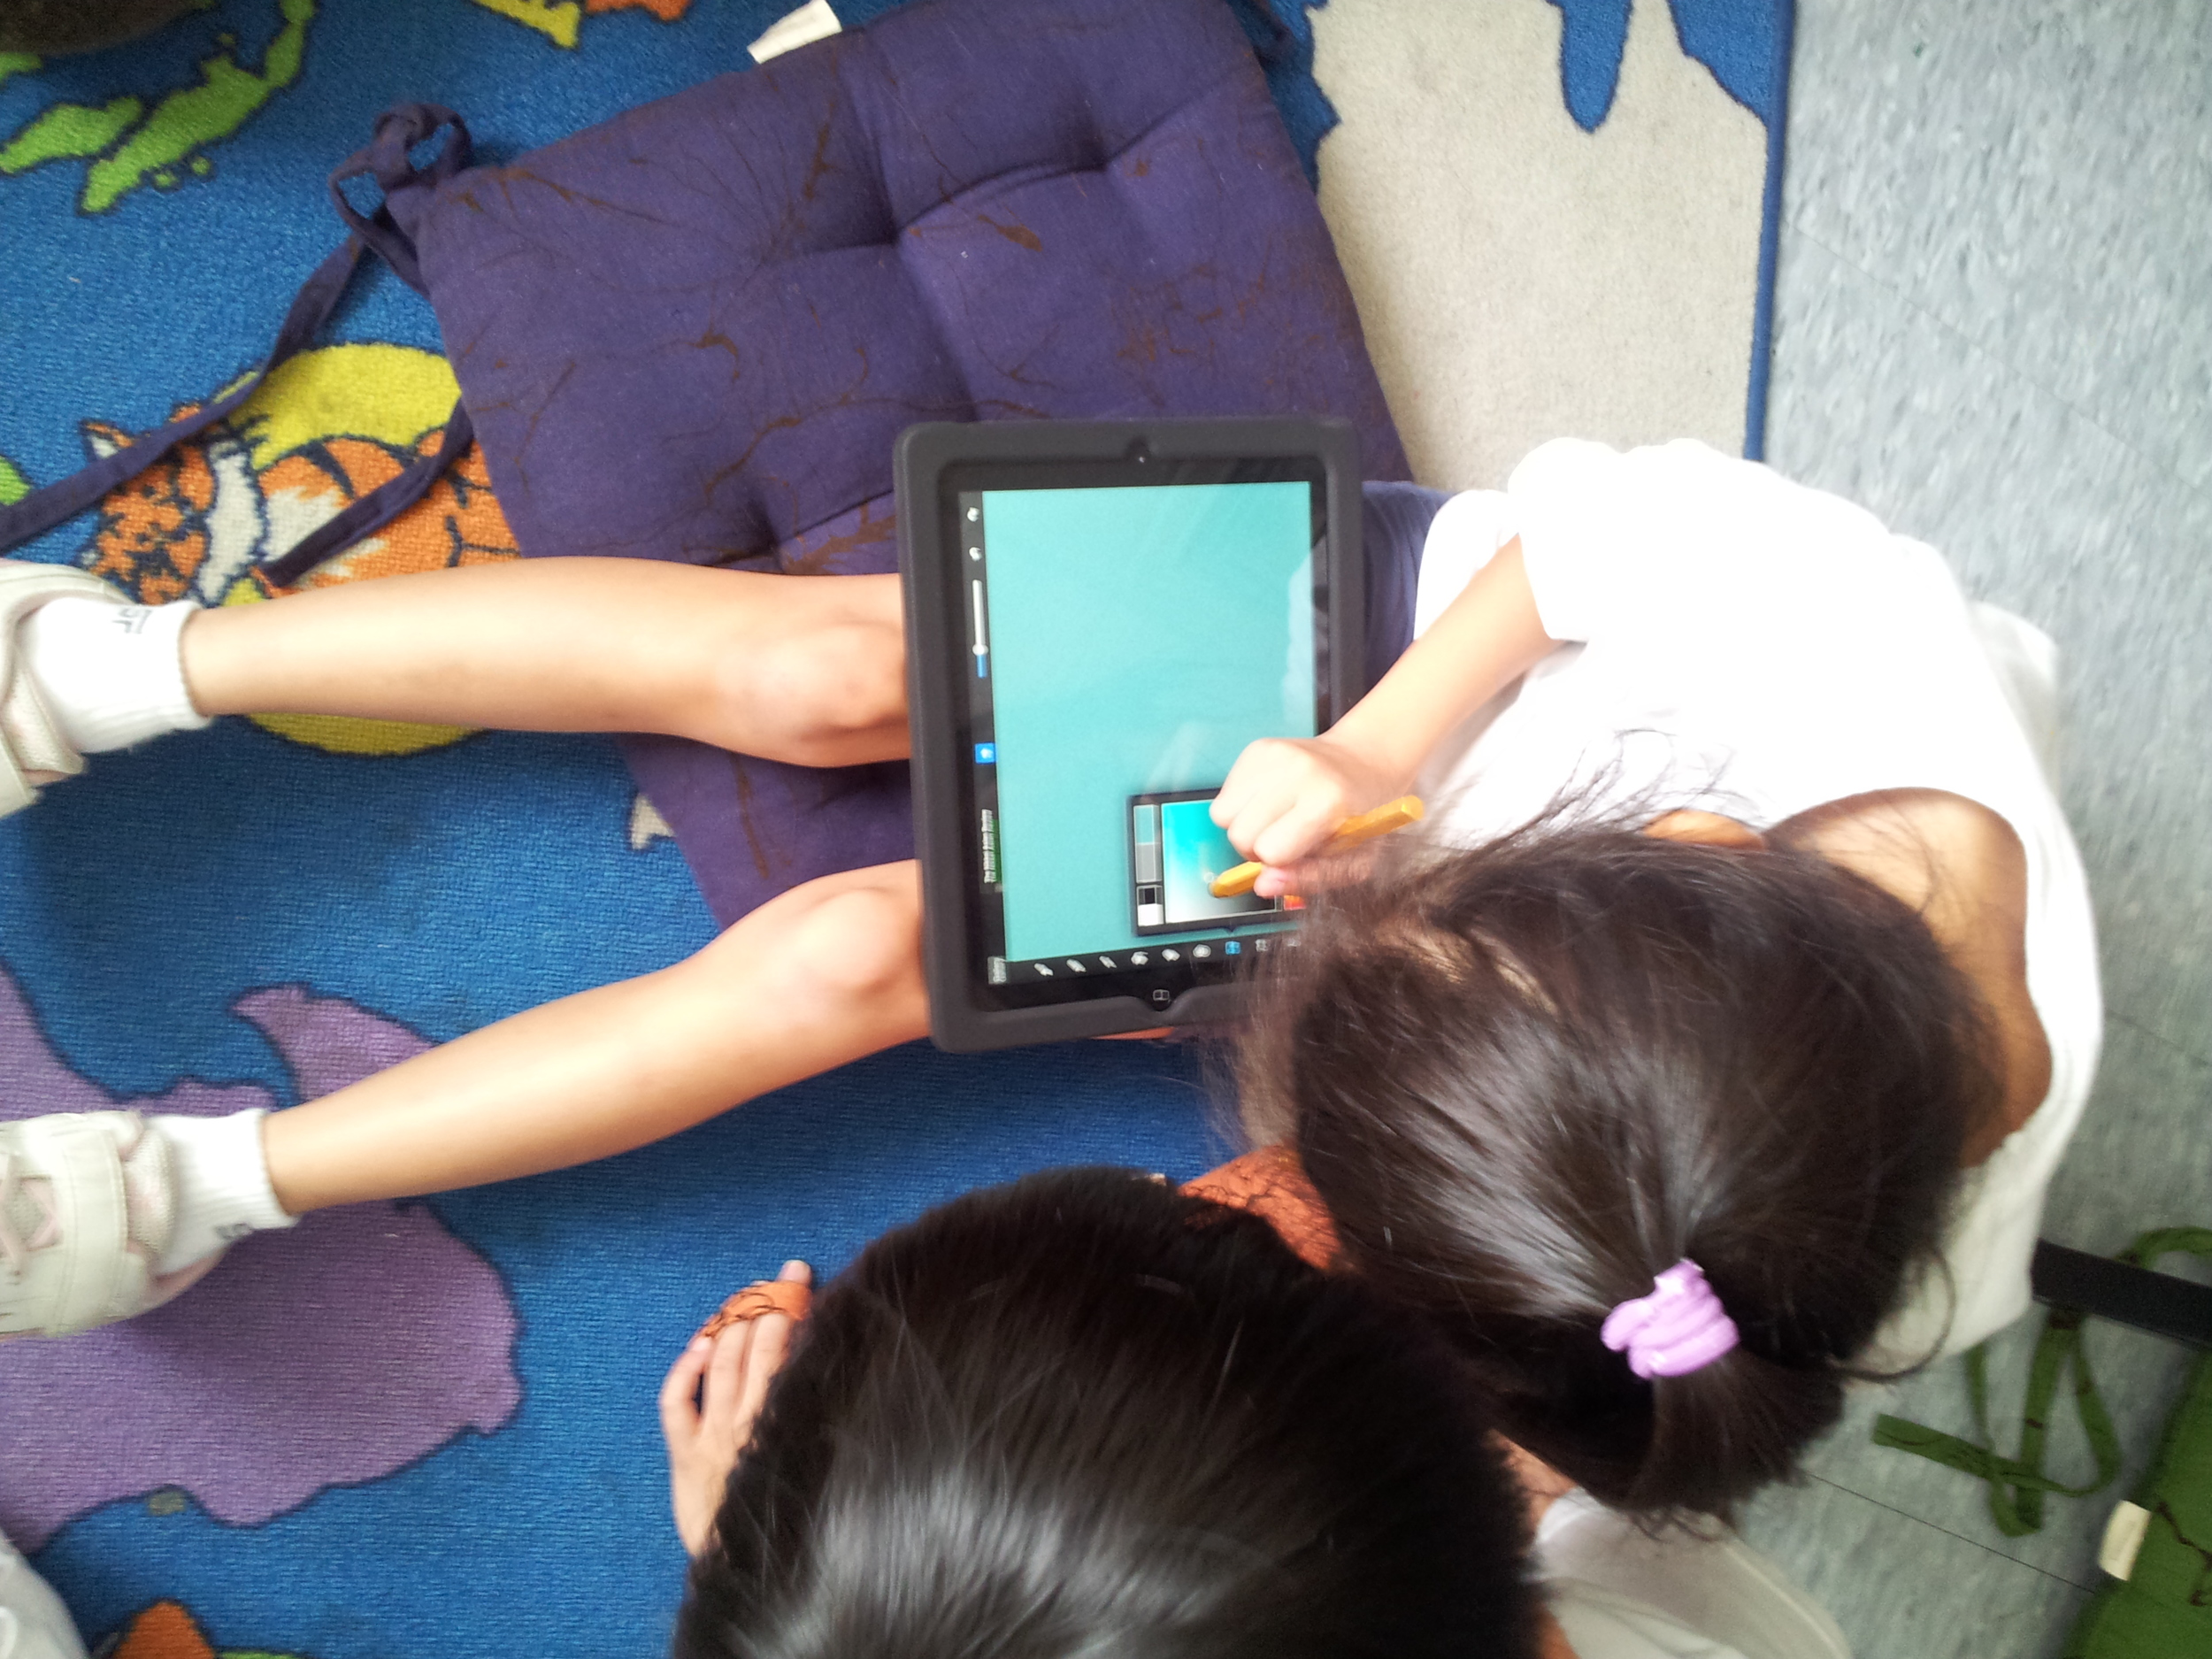
The use of Comic Life allows us to add differentiated levels to the documents really easily. The basic menus and drop-down menus in Comic Life are suitably hidden so that the children don't go customising parts willy-nilly and adding what we call "Dancing Bears." You know what we're talking about - the glitter brushscript in point 72 that is no good to man nor beast and certainly has no place on a restaurant menu.
With that in mind we build restaurant menus based on what the children have learned in Literacy on information texts and linked to the topic on healthy eating.
Next, we teach the children how to download appropriate high-res images and the difference between pixelated and non-pixelated. They do a little of this in Year 2 but they always love a 135 x 135px picture to be stretched full screen and think it's the height of deftness and speed.
What is a neat trick here is for EAL children to speak the search they want using the Voice Search function in the Google Search App. This, incidentally is handy if you have a standard school login for Chrome. The other devices show up on Chrome in the classroom computer (as long as you login) and can share the good searches on the IWB. If you have Apple TV then this is not an issue as you can share wirelessly.
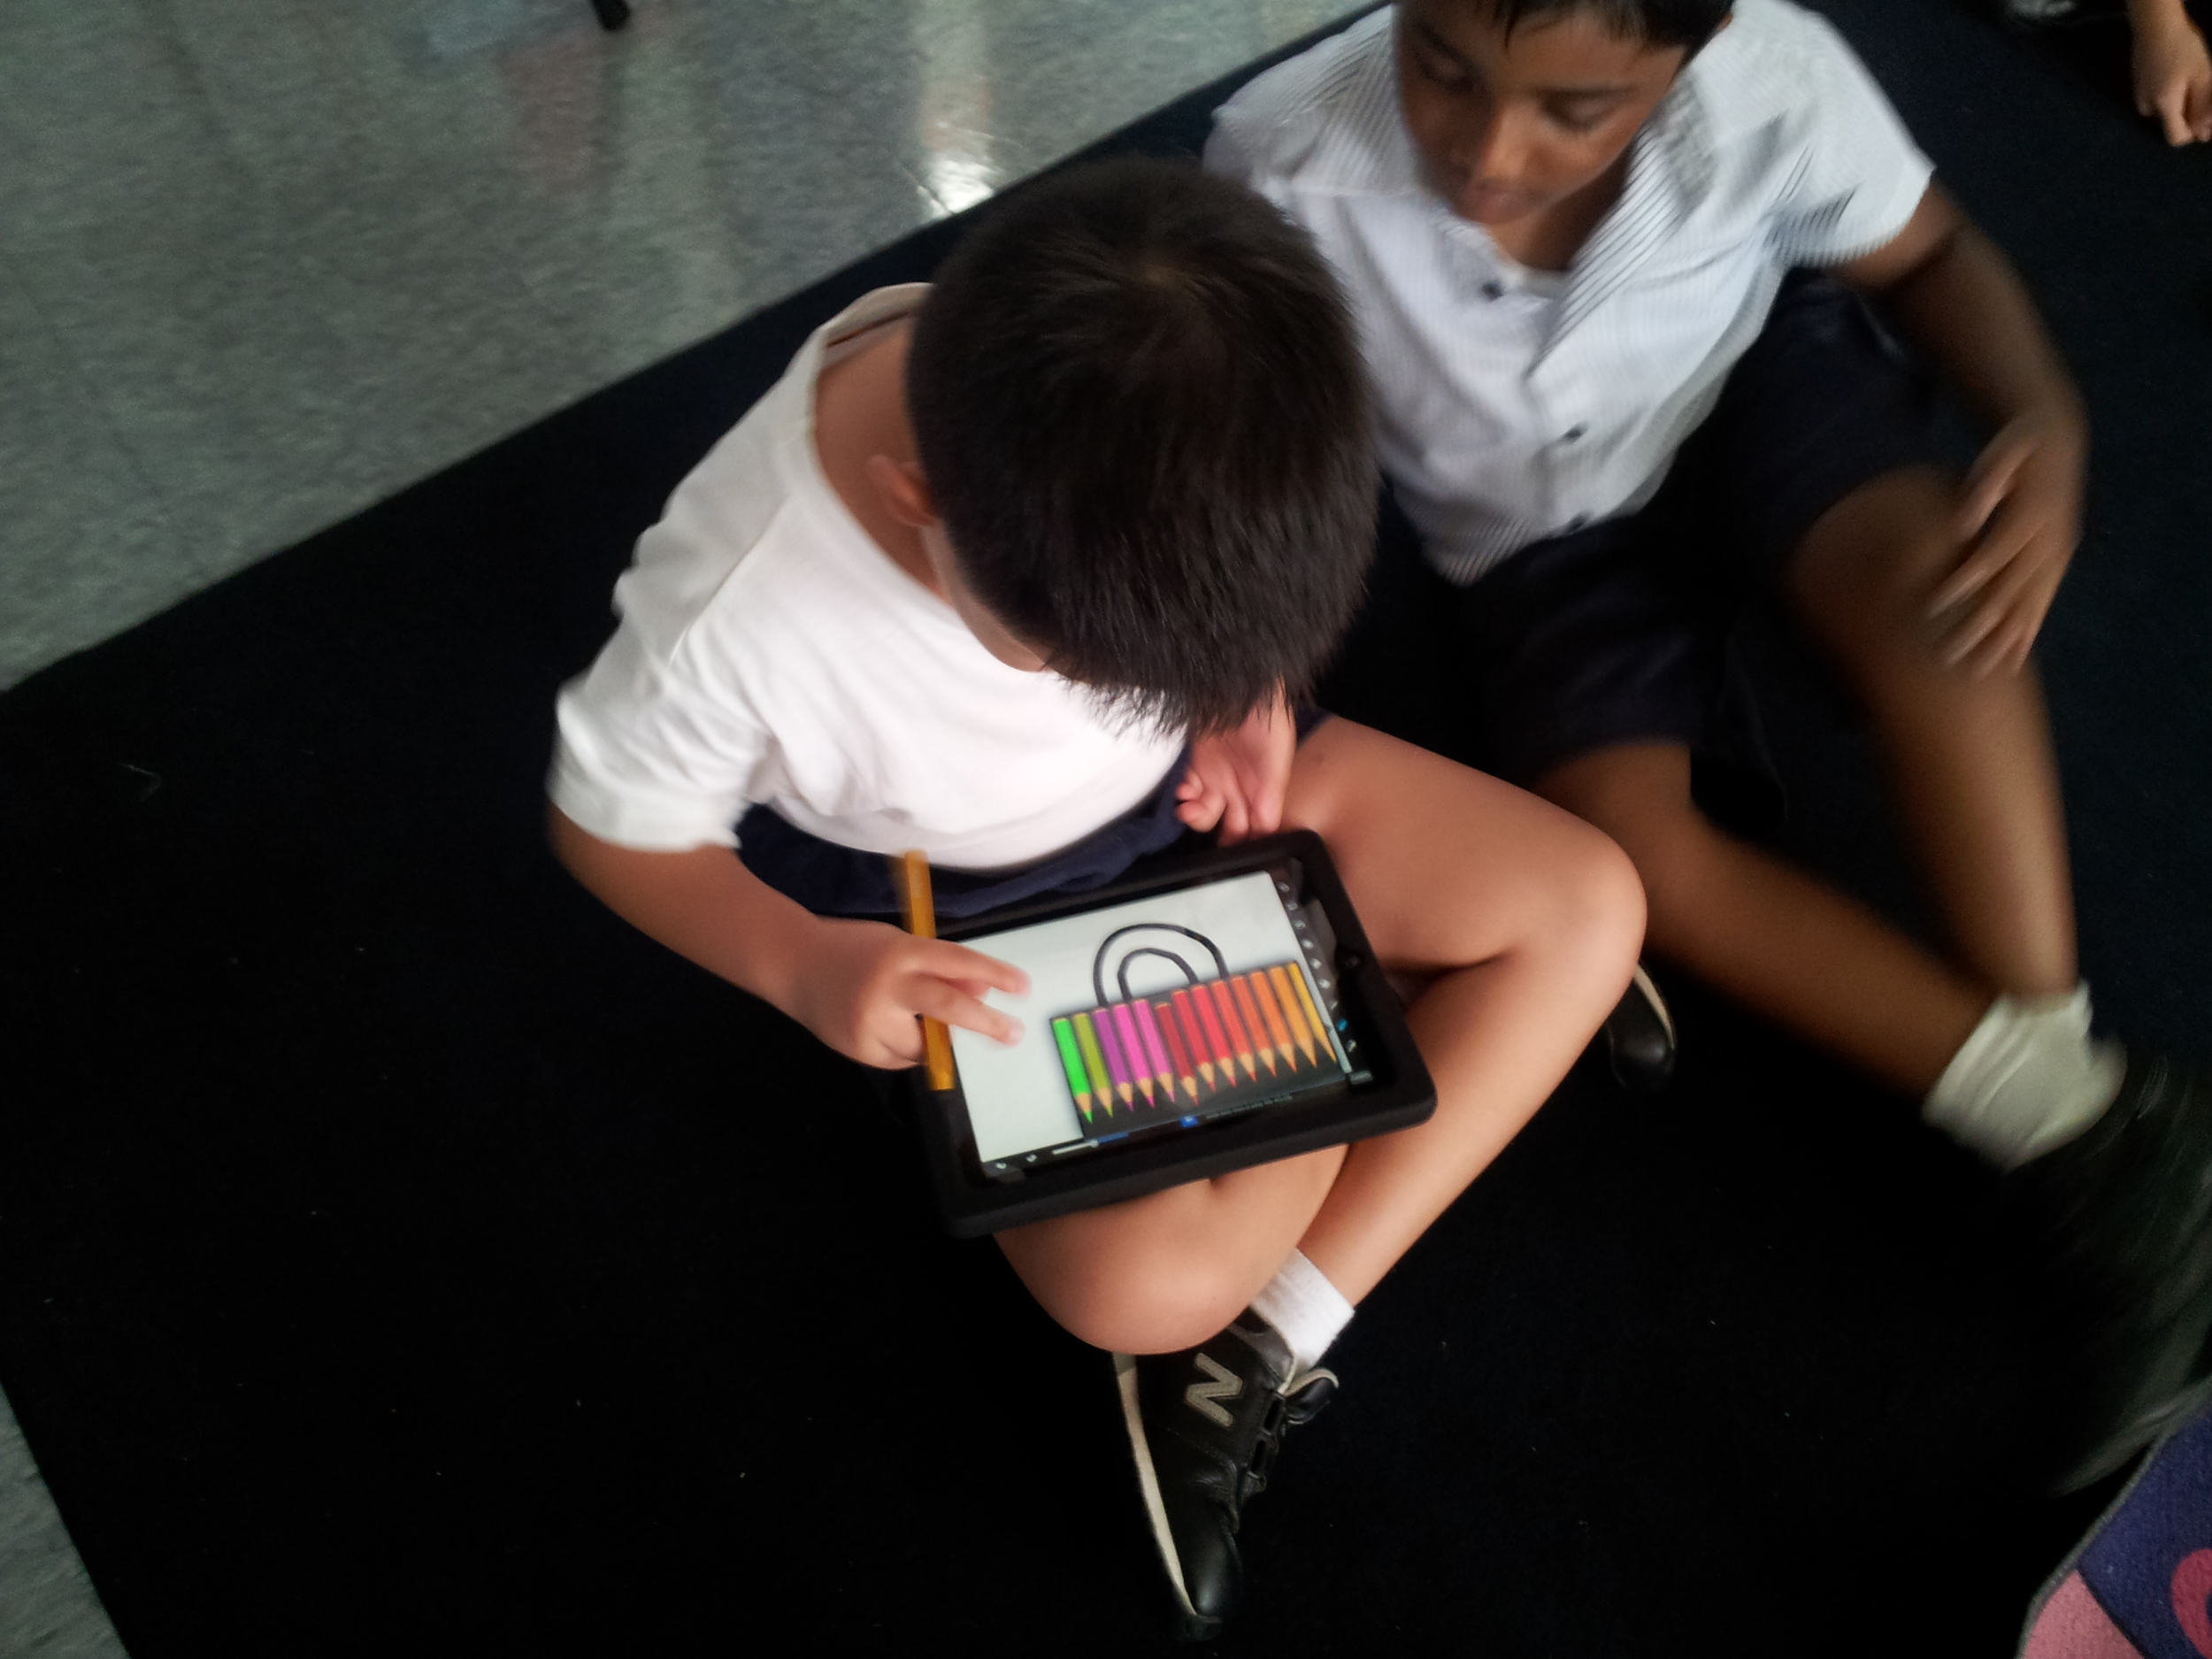
Next, Logo making in Drawing Pad. Make a logo. Paint it. Search for a swatch online and build a logo based on one you have stolen (a good way to talk about copyright here!) with a screen shot. Import to drawing pad and re-design based on that image.
Import drawing pad image to the background in Comic Life. Add images of food, drinks and text boxes of prices, food descriptions, special offers and slogans and you're done. N.B. A little hint here is that the children who are less able to add and type. Why not allow them to photograph the pages of their literacy books and crop the pages. They can, if you want, colour in the pages and decorate before photographing. Personally I love the amateurish/ kid-like effect as it holds a kind of total ownership for the children - it's less abstract for them.
Import all media to iMovie and revise the learning from Year 2. Edit and film according to the six part plan for Year 3 (1: titles , 2: names, 3: tagline 4: acting, 5: slogans 6: credits) the children have set in the previous lesson. Choose a tagline from any tagline maker. Repeat. Add music and titles. Ken Burns the Menu and images and you have a complete advert!
Year 4:
Documentaries created in Explain Everything (or Keynote) about endangered species around the world,
This topic is a varient on the Information texts topic we do by Google Mail and Web Apps and is a little bit more involved when making a website. But, we have to chop and change our outcomes based on if the Year 5 are making websites (Wix/ Weebly) in their discrete ICT sessions. Basically you have two choices here: Keynote or Explain Everything. Personally I prefer Explain everything (EE). Why? It's a bit like VoiceThread except a bit more personal and certainly more share-able.
EE is very much like a cross between PowerPoint, Jing and HyperCam2 except scribbled on and recorded in real time. Image a screen capture app that has the full gamut of annotation tools at your disposal and you can share it ANY way you like. And, you can import almost any other file into it too from almost anywhere. So this is where my love of interoperability in devices is hinged at the moment. Apart from Web DAV this app allows students to work on any type of presentation software at home or in lessons with the class teacher and work with the Technology Integrator at this app. Record, revise and present independently.
Further to the topic we add these elements to their learning too: download and convert films from YouTube or Vimeo using ClipGrab on the Macs , cut and edit to suit, add all from Explain everything, add intros from clips like Puppet Pals custom images and backdrops, export all to dropbox and finalise on the iMac or other PC.
The finished products are as we speak being finished and I shall post here.
Year 5:
Greek myths/ Space stories/ Other combination of Topic and Literacy. Film in front of green screen and use all apps previously used to make a Horrible Histories style film and moving backdrops/ Explain everything documentary and begin learning about camera angles.
This project is huge. It takes about 7-8 weeks of double sessions (much less if you're only running your class individually and have 1:1). This needs to be explained in a list. You also need a bit of preparation first.
Teacher: collate all images and video snippets for green screening before you start. build all folders for classes in dropbox and make sure auto upload is turned ON on all iPads so nothing is lost. Search and build a library of clips for children to access at speed. Make sure all dropbox apps on the Macs and class PCs are operational and then share the passwords with your class.
1. Script written. So important for any production. Plan out spoken parts, acting and storyboard narration. Decide as we did if you're story is to be a verbal story or filmed. You will also need to practice with a greenscreen in this week too.
2. Record all sound using Sound Recorder HD. Allows direct import to dropbox and access on the class computer when finished. We created a Project template in iMovie on the Macs in readiness for the import of images and sound.
3. Choose all images needed for story telling. Same for all video. Import to events in iMovie. Import all media to iTunes and iPhoto. Train all staff and students the importance of sync within the Macs.
4. Learn about camera angles and that all subjects DO NOT NEED TO BE IN THE CENTER OF THE SCREEN. Demo and set home work for learning about camera angles from FilmStreet.co.uk. Practice and get films wrong. Edit. Re-film. Repeat. And... review.
5. The last lesson can get very involved.


